
How to Install Roof Shingles Like a Pro: A DIY Guide
Are you ready to elevate your home’s curb appeal and protect it from the elements? Installing roof shingles might seem daunting, but with the right tools and a bit of determination, you can achieve professional results. This comprehensive guide will simplify the process into manageable steps, making your DIY roofing project a success.
Gather Your Tools and Materials
Preparation is key before climbing up that ladder. Having all the essential tools and materials will set you up for a smooth installation. You’ll want a reliable selection to ensure everything goes off without a hitch.
For a successful shingle installation, gather the following tools: a hammer, utility knife, roofing nail gun (if available), a ladder, safety harness, and a chalk line for marking straight lines. These instruments are crucial for both safety and efficiency.
Your material arsenal should include roof shingles, underlayment, drip edge, flashing, and roofing cement. Each of these components plays a vital role in ensuring a durable and protective roof environment.
Prepare the Roof Surface
Once you’re equipped with tools and materials, the next step involves preparing the roof surface. A clean and well-maintained workspace is critical.
To begin the installation, you must first remove any existing, damaged shingles. Utilize a pry bar or a roofing shovel to carefully pry off shingles from the roof’s bottom edge, moving upwards. Take this step slowly to avoid damaging the underlying roof deck.
With the old shingles removed, examine the roof deck for any signs of damage. Look for soft spots or indications of rot that could compromise the new shingles. It’s essential to ensure a sound surface for the fresh installation.
Installing the New Roof Shingles
Now, the exciting part begins! Follow these structured steps to ensure a professional finish.
Start by rolling out the underlayment along the roof, overlapping each row slightly. This protective layer helps to prevent moisture from penetrating the roof deck. Secure it in place using roofing nails or staples to maintain a tight fit.
Next, install the drip edge along the eaves, ensuring it overlaps the underlayment. Then proceed with the flashing, strategically placing it along roof valleys and around chimneys. This step is essential to help redirect water away from vulnerable areas of the roof.
Before laying down your shingles, marking straight lines is crucial. Use a chalk line to draw horizontal lines across the roof to guide the positioning of your shingles. This will ensure your work looks neat and uniform.

Begin Shingling Your Roof
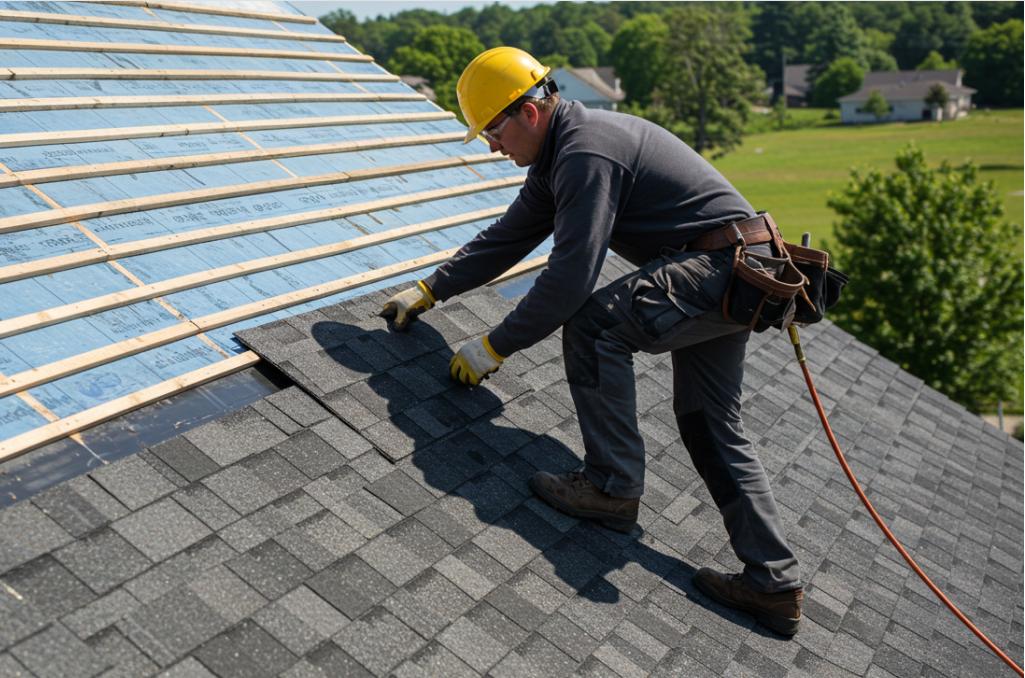
With your guides in place, you can begin the fun part: applying the shingles. Starting from the bottom edge, lay the shingles moving upwards while allowing for the appropriate overlaps between rows.
Each shingle should be secured with roofing nails, ideally placed near the top edge to be hidden by the next shingle row. This method helps with the wind resistance and overall integrity of the roof.
There may be areas where full shingles won’t fit perfectly. Use your utility knife to trim them accordingly, ensuring that all edges are clean and uniform. Attention to detail is what truly sets a DIY project apart.
Installing Ridge Caps
After shingling, it’s time to focus on the apex of your roof. Install ridge caps to cover the peak, providing an extra layer of protection against weather elements.
Measure and cut the ridge caps to fit snugly across the center of the roof. Once positioned, secure them with roofing nails, ensuring they overlap for a watertight seal. This is the finishing touch to achieve a polished appearance.
Final Inspection
Before you finish, it’s essential to perform a final check to ensure everything is secure.
Inspect all shingles to verify that they are firmly fastened and there are no loose nails. Review all flashing and ridge caps for proper sealing, ensuring no areas are left vulnerable to leaks.
Lastly, clean up the area, removing any debris from your project. A well-maintained worksite reflects the quality of your craftsmanship.