
Your Own Homemade Clock – Part 1
A clock forms part of our everyday life as it tells us the time and helps us to get to our appointments on time.
However, are you tired of the usual clock designs? Do you want to create your home-made clock? In this on-going series, we present you with the first part of making your home-made clock.
Steps in Making a Photo Clock
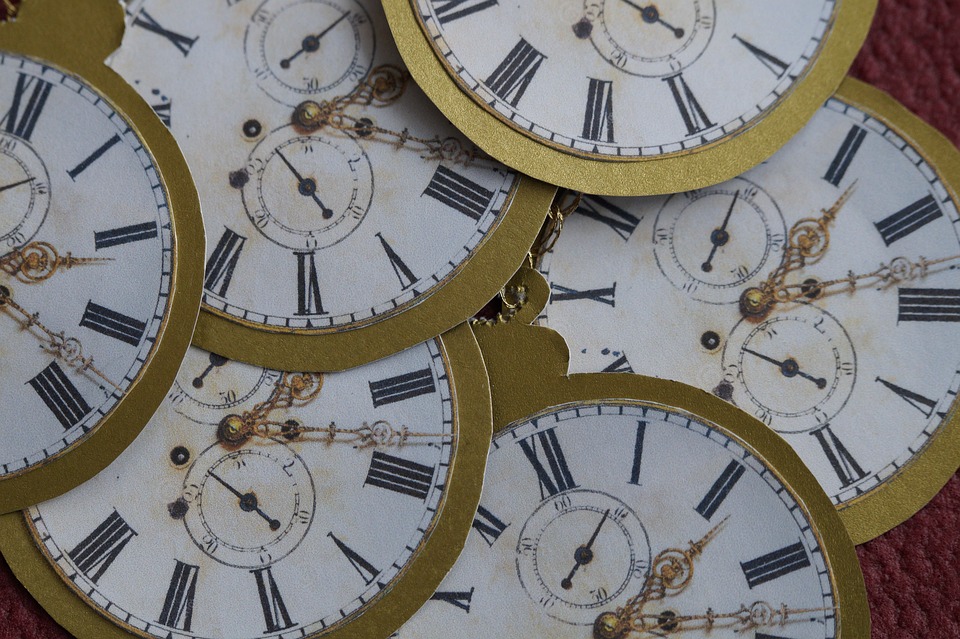
A picture represents a special and unique moment of your life that you were able to capture. It can be about a wedding, anniversary or graduation. A home-made photo clock will help you remember these cherished moments while also telling you the time.
1. Get Your Materials
The first stage involves gathering the necessary supplies. The following materials can be used: a pencil, a ruler, a hammer and nails, scissors, tape, 12 picture frames, 12 photos, a clock mechanism kit and 2 or 3 sheets of newsprints. Usually, a larger clock mechanism is better rather than a small one. Additionally, it is up to you to decide on the 12 types of pictures and on the styles and designs of picture frames you want to use. You can either use a personal picture or download digital photos from the Internet.
2. Insert Photos
Each picture you’ve chosen will represent one hour on your clock face (hence 12 pictures and 12 picture frames), and this is the stage where you can set your chosen pictures into their frames. The choice of images can be made based on a specific theme such as holidays or wedding anniversaries.
But, remember, only 12 pictures need to be chosen!
3. Clock Mechanism
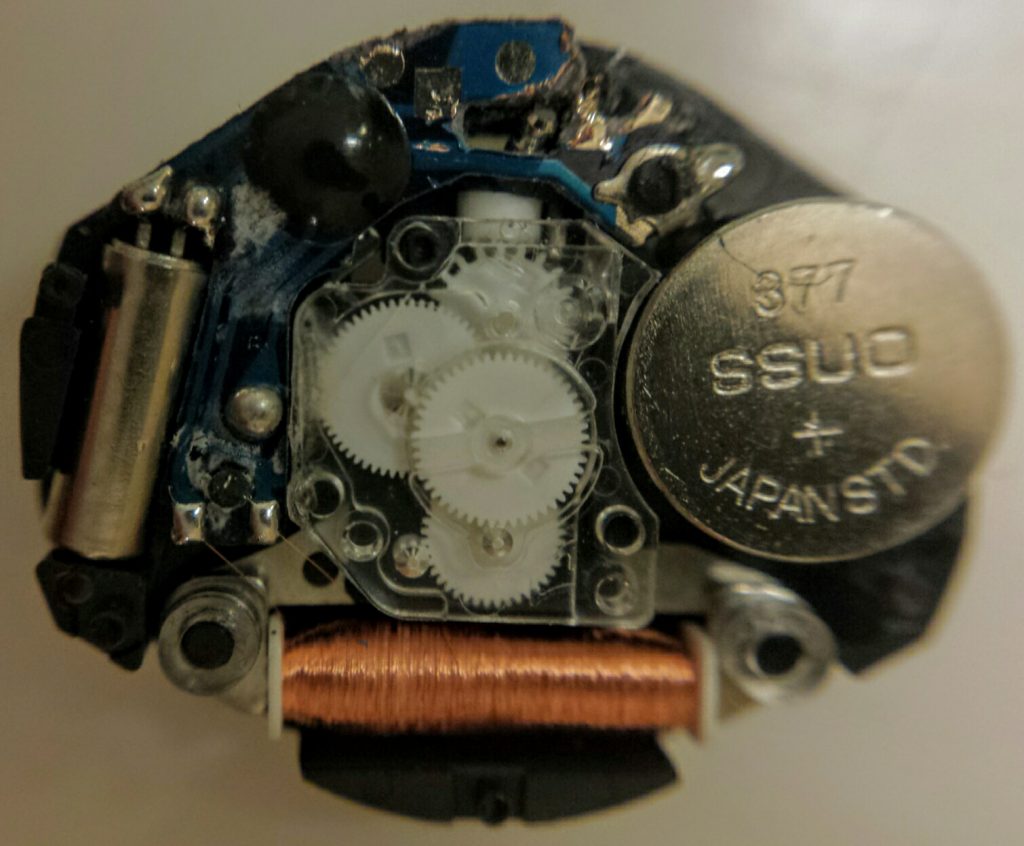
This is where it gets a bit tricky!
With the help of a ruler, pencil and scissors cut a card stock paper into a shape that would be large enough to cover the clock mechanism. Make sure you have taken the clock mechanism measurements so as you can cut the card stock paper accordingly. With a Xacto knife or a pair of scissors, make a small hole in the centre of the card stock as it represents the area where the clock mechanism would be fixed. Once you have placed the card stock paper as the clock face, start putting together the clock’s different elements. Place a round brass washer over the shaft and add a mounting nut to it on the clock base. You can now place the hour hand over the shaft, followed by the minute and second hand. Once this task is done, put a battery in the device and set the correct time.
4. Prepare a Layout
With both your photo frames and clock mechanism ready, you can now decide on its layout. First, stick all the sheets of newsprints together with the tape and then place them on the floor. Take the clock device, position it in the centre of the sheets, and arrange the 12 picture frames around it to create a proper clock arrangement. Ensure that the photo frames are well positioned and that the clock device is in the middle of the picture frames. You can play around with the layout until you get the perfect design. Once you are satisfied with it, trace positions of the frames and clock device onto the newsprints with a pencil.
5. Hang the Clock
You decide where you want to place your clock. It can be in the living room, kitchen or even the bedroom. All you really need is a big enough and free enough wall to hang your clock. Stick the newsprint lightly to the wall with a tape to get your clock arrangement’s appropriate positions. Use a hammer and a few nails to fix the picture frames based on the tracings. Once this is completed, you can remove the newsprint from the wall and place the clock mechanism in the middle of the frames.
And there, you have your photo clock set!
Were you able to follow these steps and make your own photo clock? Please share your comments with us and don’t forget to come back for the other parts of this on-going series to learn more about homemade clocks.