
How to Make Cloth Diapers
Summary
– The different methods to sew cloth diapers
– Step 1: Gather the suitable material to sew cloth diapers
– Step 2: Prepare the pattern to make cloth diapers
– Step 3: Cut the pieces of your cloth diaper and assemble the absorbent core
– Step 4: Sew the cloth diaper
– Step 5: Install the cloth diaper closure
– Step 6: Use the cloth diaper
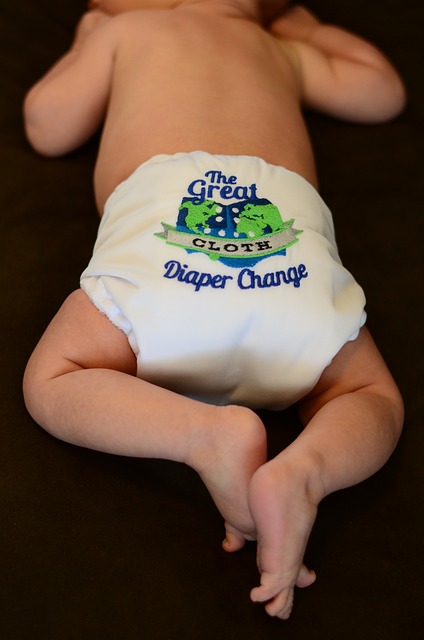
The consumption of baby diapers makes their purchase expensive and their ecological impact not negligible. So why not make your cloth diapers? They are durable, practical, fun, and much less costly. You can even recycle them. Even better, this post will teach you to sew cloth diapers quickly!
Here is how to make cloth diapers.
The different methods to sew cloth diapers
There are several methods to sew cloth diapers, from the simplest to the most complex. The most elaborate ones have a pocket in which to slide the inserts (the absorbent core) to be removed. They can be washed and dried separately. The method is challenging to master and much more time-consuming for moms who are not always convinced.
So here we will present you the most straightforward and fastest solution, with inserts sewn directly on the diaper. They require a longer drying time, but the speedier method allows you to sew more diapers to let them dry!
Good to know: cloth diapers are usually worn under a waterproof cover to avoid wetting a baby’s clothes or sheets. It is possible to make it on the same pattern as the diaper by enlarging it very slightly.
1. Gather the right materials to sew cloth diapers
Choose the fabrics
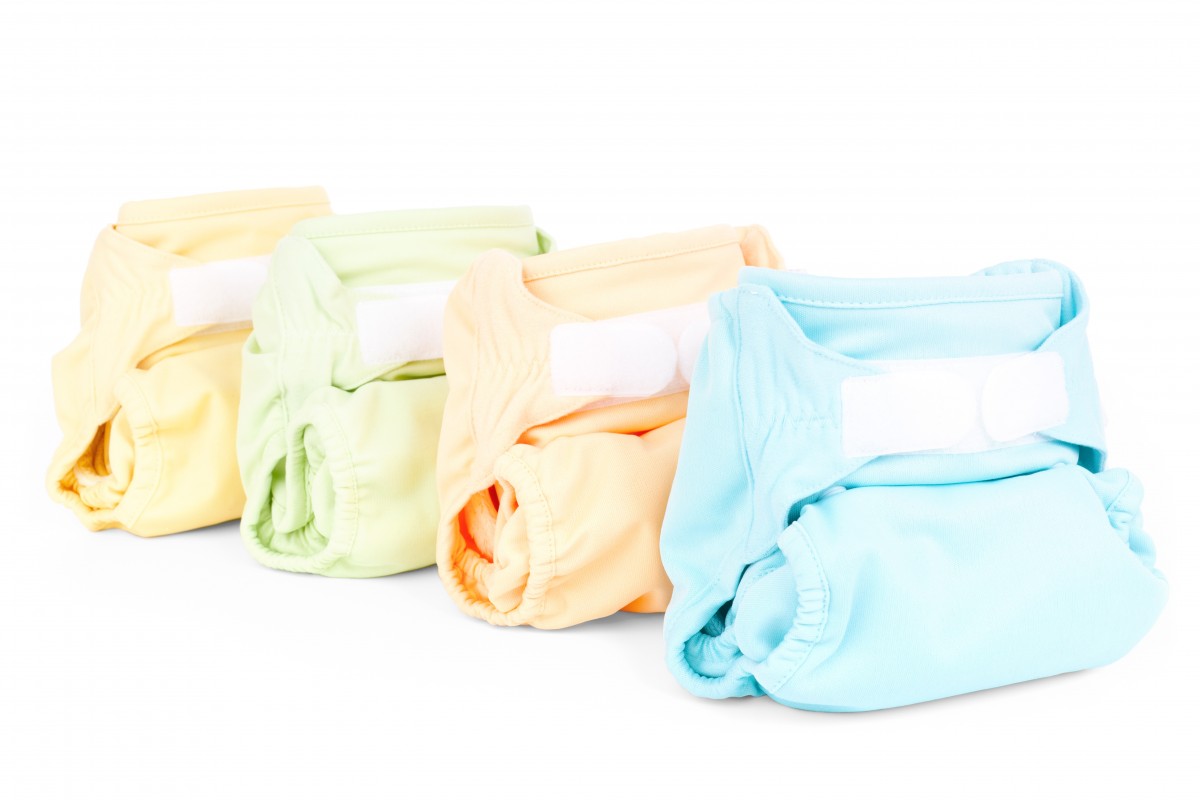
Cloth diapers are made up of an outer layer, an inner layer and several layers of fabric for the inserts. These inserts are the absorbent core that holds urine. The outer and inner surfaces should be soft and absorbent, while the inserts can be layered with one or more fabrics to combine their absorptive properties. You can find many natural materials in large stores. You can also recycle by cutting up terry towels, flannel pyjamas or fleece jackets!
Here are some examples of fabrics you can use for your cloth diapers:
– Cotton terry, the cheapest and most common, is absorbent and easy to recycle. If the fabric is new, wash it several times before using it. Preferably thin, it will dry faster.
– Fleece is hydrophobic but not absorbent: it keeps the buttocks dry but allows liquid to pass through. It can be used on the outside if densely woven and waterproofed.
– Honeycomb, flannel and fleece are absorbent and comfortable.
– Hemp is strong and absorbent, bamboo is very soft: both are natural fibres.
Good to know: some moms add a rectangle of solid paper inside the diaper. It collects stool rather than rubbing the diaper and is flushed down the toilet.
Select sewing accessories
To sew your cloth diapers, you’ll need to go through at least three or four layers of fabric, using both straight and zigzag stitches.
– Choose a jersey needle, size 80 to 90, depending on the fabrics you choose. In all cases, test on scraps of fabric to make sure the needle goes through all layers without snagging or breaking.
– Choose a strong thread and adjust the tension. Again, test before sewing: if the thread breaks, reduce the pressure. You will need both straight and zigzag stitches, so test both.
– Have yardage of flat elastic, no more than 5 mm wide. You may need to try several to find the right and comfortable tension.
– Also, plan for the fastening system of your choice: snaps or Velcro strips 2 to 5 cm wide. The wider the Velcro strap, the better the diaper will hold, but it may leave marks on baby’s tummy.
2. Prepare the pattern to make cloth diapers
– The easiest way is to download a pattern from the Internet. You will find several, depending on the age and type of diaper.
– If you prefer to make your own pattern, place a diaper on pattern paper and draw the outline, pulling the rubber bands as tight as possible to keep it flat. Add 5 mm of seam allowance all around. Also, draw the absorbent core: a rectangle that fits the size of the diaper spaced a few inches from the edges.
3. Cut the pieces of your diaper and assemble the absorbent core
– Cut out the pattern and pin it to the cloth: cut the shape of the diaper once in the cloth for the outer side and once in the absorbent cloth for the inner side.
– Cut the absorbent core into at least two or three layers, or even four or five, depending on the thickness of the fabric(s) you choose, and then assemble it:
◦ Layer the different layers of the core. Join them on the two long sides with a zigzag stitch. Leaving the short sides free will help the layers dry more quickly.
◦ Place this piece on the inside of the coating, on the back (it will not be visible).
◦ Stitch the large sides with a straight stitch along the zigzags.
4. Sew the cloth diaper
You may choose to assemble the diaper without turning it inside out to finish it. This method is simpler and faster but may irritate the fragile skin of some children in contact with the zigzag stitch. In this case, I prefer the second method.
Method 1: without turning over
– Lay the two parts of the diaper on top of each other, inside out. Stitch the top, bottom and two long sides with a tight zigzag stitch.
– Straight stitch 1 cm away from where you want to add the elastic. These are usually the curves on the inside of the legs and the center back.
– Insert a safety pin into the elastic. Push it through the tunnel.
– Stitch one end of the elastic with a bartack. Pull to adjust the tightness as desired and secure the other end with a tack.
– Trim the excess elastic.
– Repeat with the other two locations.
– Stitch the short sides left open with a tight zigzag stitch.
Method 2, turning over
– Place the two parts of the layer on top of each other, right sides together. Stitch all the way around, except for the front (the right edge at the bottom).
– Pin the elastic to the seams where you want to add it. These are usually the curves on the inside of the legs and the center back.
– Pull to adjust the tightness as desired and secure the other end with a second pin.
Stitch the elastic with a not-tight zigzag over the seam, pulling to flatten the fabric as you stitch.
– Turn the diaper inside out through the open front.
– Tuck the edges of the opening inward, pin.
– Stitch with a straight stitch to close.
– Finish with a bartack.
5. Install the diaper closure
Once the diaper is finished, install the closure of your choice:
– Velcro, sew-in or self-adhesive, often a favourite because it’s quick and easy;
– snap fasteners to sew or to put on with a clip;
– ribbons, less practical but prettier!
6. Use cloth diapers
To use your cloth diapers, don’t forget to bring a waterproof diaper cover made of coated fabric. Also, remember to add the paper in the diaper for the stool if you want.
– Before the first use, soak the diapers in water overnight and wash them several times. They will absorb better, especially if you have used new cloth.
– Plan on at least 12 diapers, washing every 2 days. Ideally, it’s better to count on 20 or so.
– Wipe off stool marks, and store dirty diapers in a dedicated garbage can, half-filled with water and three drops of tea tree oil. The soaking will disinfect them while waiting for the laundry, but not more than 3 days!
– Machine wash at 60°C maximum; otherwise, you will damage the elastics. Use a soft detergent, even hypoallergenic and organic, and no fabric softener. It is better to use a half-load detergent separately. You can wash the diapers with the rest of the laundry, but some odours may remain…
– For drying, provide a drying rack in a well-ventilated area, and let dry for a day. In winter, you’ll need extra heat; otherwise, the upholstery may become mouldy.