Crafting Homemade Cloth Diapers: A How-To
Ah, the joys of homemaking! In Canada, where resourcefulness and sustainability are cherished, making your own cloth diapers can be a rewarding project. Not only does it save you money, but it’s also an eco-friendly choice. In this comprehensive guide, we’ll dive into the art of crafting homemade cloth diapers, offering step-by-step instructions and tips to help you get started on this fulfilling DIY journey.
Why Choose Cloth Diapers?
Before we delve into the creative process of making cloth diapers, let’s explore why they’re an excellent choice for many Canadian families. Here are some compelling reasons:
1. Eco-Friendly: Cloth diapers are reusable and reduce the environmental impact associated with disposable diapers, which can take hundreds of years to decompose.
2. Cost-Efficient: Making your own cloth diapers can save you a significant amount of money in the long run, as they can be used for multiple children and even passed down.
3. Gentle on Baby’s Skin: Cloth diapers are made from soft, breathable fabrics that are gentle on a baby’s delicate skin. They reduce the risk of diaper rash and discomfort.
4. Customizable: When you craft your cloth diapers, you have the freedom to choose fabrics, designs, and features that suit your baby’s needs and your preferences.
5. Sustainable: By creating your cloth diapers, you can ensure they are made from sustainable materials and are built to last.
Materials and Tools
To embark on your journey of making cloth diapers, you’ll need some essential materials and tools. Here’s what you’ll require:
Materials:
- Cloth Fabric: Choose a soft, absorbent fabric like cotton, hemp, or bamboo. You’ll need enough for the diaper body, so consider purchasing it by the yard.
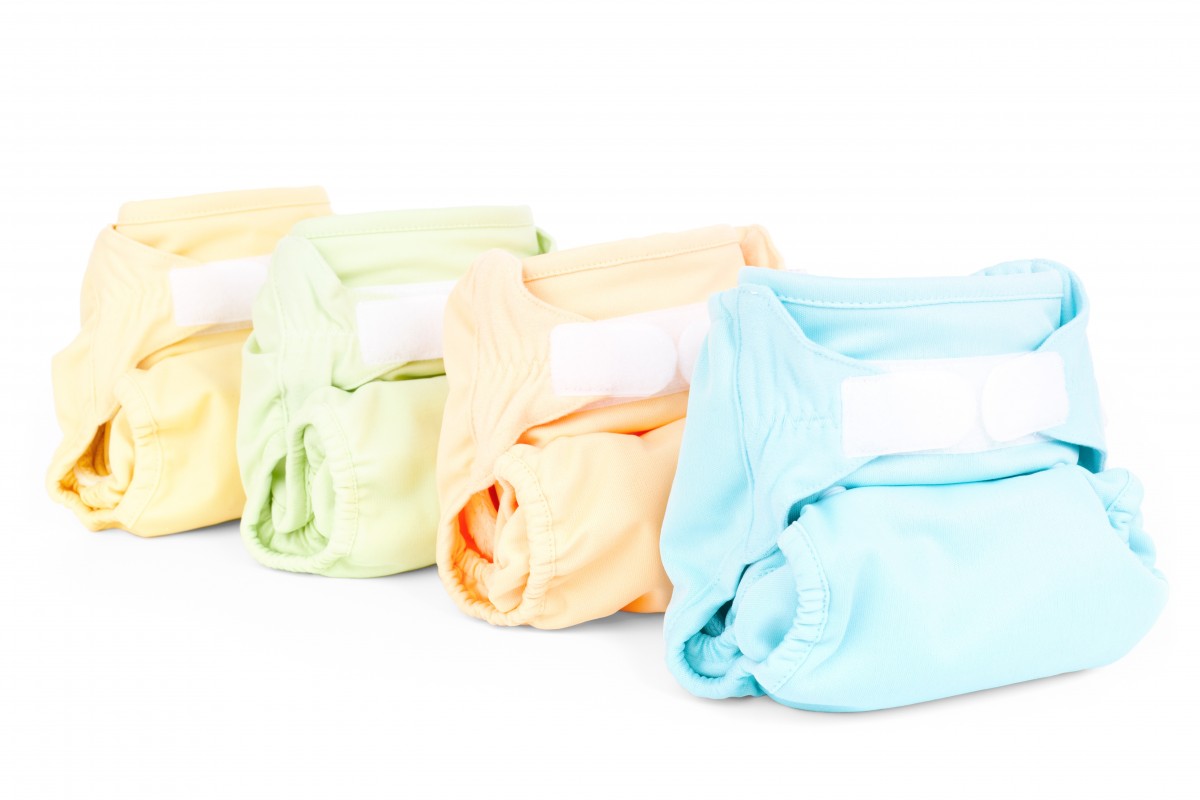
- Snaps or Hook-and-Loop Fasteners: These are for securing the diaper in place. You can choose snaps for a more durable option or hook-and-loop for ease of use.
- Elastic: You’ll need elastic for the leg openings to provide a snug fit.
- Absorbent Insert: These are optional, but they enhance the diaper’s absorbency. You can purchase or make your own inserts.
- Thread: Choose a thread colour that complements your fabric.
Tools:
- Sewing Machine: A basic sewing machine will suffice for this project.
- Scissors: Sharp scissors are essential for cutting fabric and elastic.
- Pins: These are handy for holding fabric pieces together while sewing.
- Measuring Tape: You’ll need this to measure and cut fabric accurately.
- Diaper Pattern: You can find free diaper patterns online or create your own based on a template.
Step-by-Step Guide to Making Cloth Diapers
 Now that you have your materials and tools ready, let’s walk through the process of making cloth diapers. This step-by-step guide will help you create cloth diapers tailored to your preferences.
Step 1: Prepare Your Fabric
Wash and dry your fabric before starting the project to pre-shrink it. This ensures that your cloth diapers won’t change shape or size after their first wash.
Step 2: Cut the Fabric
Using your diaper pattern, cut the fabric into the desired shape. You’ll need two pieces per diaper: one for the outer layer and one for the inner layer. Make sure they match up correctly.
Step 3: Sew the Inner Layer
Place the two fabric pieces for the inner layer together, right sides facing each other. Sew around the edges, leaving a small gap for turning the fabric inside out. Once sewn, turn the fabric right side out and press it flat.
Step 4: Add the Elastic
Measure and cut pieces of elastic for the leg openings. Sew these elastics into place along the inner layer’s leg openings. Be sure to stretch the elastic as you sew to create a snug fit.
Step 5: Sew the Outer Layer
Place the outer fabric pieces together, right sides facing each other. Sew around the edges, leaving a small gap for turning. Turn it right side out and press.
Step 6: Attach Snaps or Hook-and-Loop Fasteners
Sew snaps or hook-and-loop fasteners to the outer layer of the diaper. These will provide the closure for the diaper. Ensure that they are securely attached.
Step 7: Assemble the Diaper
Place the inner layer (with the leg elastics) on top of the outer layer, matching up the edges. Pin them together, and then sew around the entire diaper to secure both layers.
Step 8: Add the Absorbent Insert
If you choose to use an absorbent insert, simply place it between the two fabric layers before pinning and sewing. This insert will boost the diaper’s absorbency.
Customizing Your Cloth Diapers
One of the delightful aspects of making your cloth diapers is the ability to customize them to your liking. Here are some creative ideas to consider:
Fabric Designs: Choose fun, colourful fabrics or even print your fabric using fabric paint or dye.
Embroidery: Personalize your diapers with your baby’s name, cute motifs, or fun patterns using embroidery.
Pockets: Create a pocket opening in the diaper to easily insert and remove absorbent inserts.
All-in-Ones: Make all-in-one diapers by sewing the insert directly into the diaper, eliminating the need for separate inserts.
Caring for Cloth Diapers
Proper care ensures the longevity of your homemade cloth diapers. Here are some tips:
- Wash cloth diapers with a gentle, fragrance-free detergent.
- Avoid using fabric softeners, as they can reduce absorbency.
- Sun-drying is an effective way to remove stains naturally.
- Store dirty diapers in a dry pail until laundry day.
And Now, It’s Your Turn
Crafting your cloth diapers in Canada is a satisfying and eco-conscious endeavour. By choosing your fabrics, designs, and features, you can create diapers that are as unique as your baby. As you embark on this DIY journey, remember the benefits of cloth diapers: they’re eco-friendly, cost-efficient, gentle on your baby’s skin, customizable, and sustainable. Whether you’re an experienced seamstress or new to sewing, making your cloth diapers is a rewarding project that contributes to a greener, more sustainable future for your family.
