
How to Remove Roof Moss
Summary
– An adapted defoamer for a well-protected roof
– Stages of roof defoaming
– DIY defoaming
It is essential to maintain your roof: you can regularly defoam the roof, apply a layer of water repellent, and of course clean it or have it cleaned.
It is possible to do the necessary work yourself, provided your roof is flat or only slightly sloping, and that your house is not more than one storey high.
Complete removal of moss from the roof can sometimes be risky depending on the slope of the roof or the height of the house. If your roof is sloping or if your house has one storey, hire a roofer.
Proper defoaming for a well-protected roof
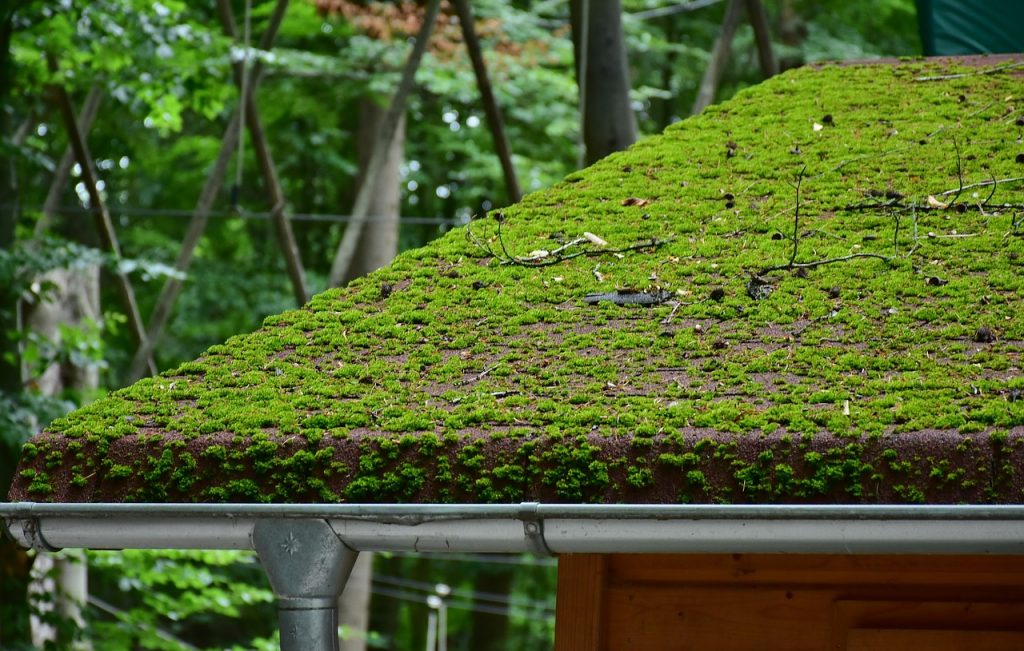
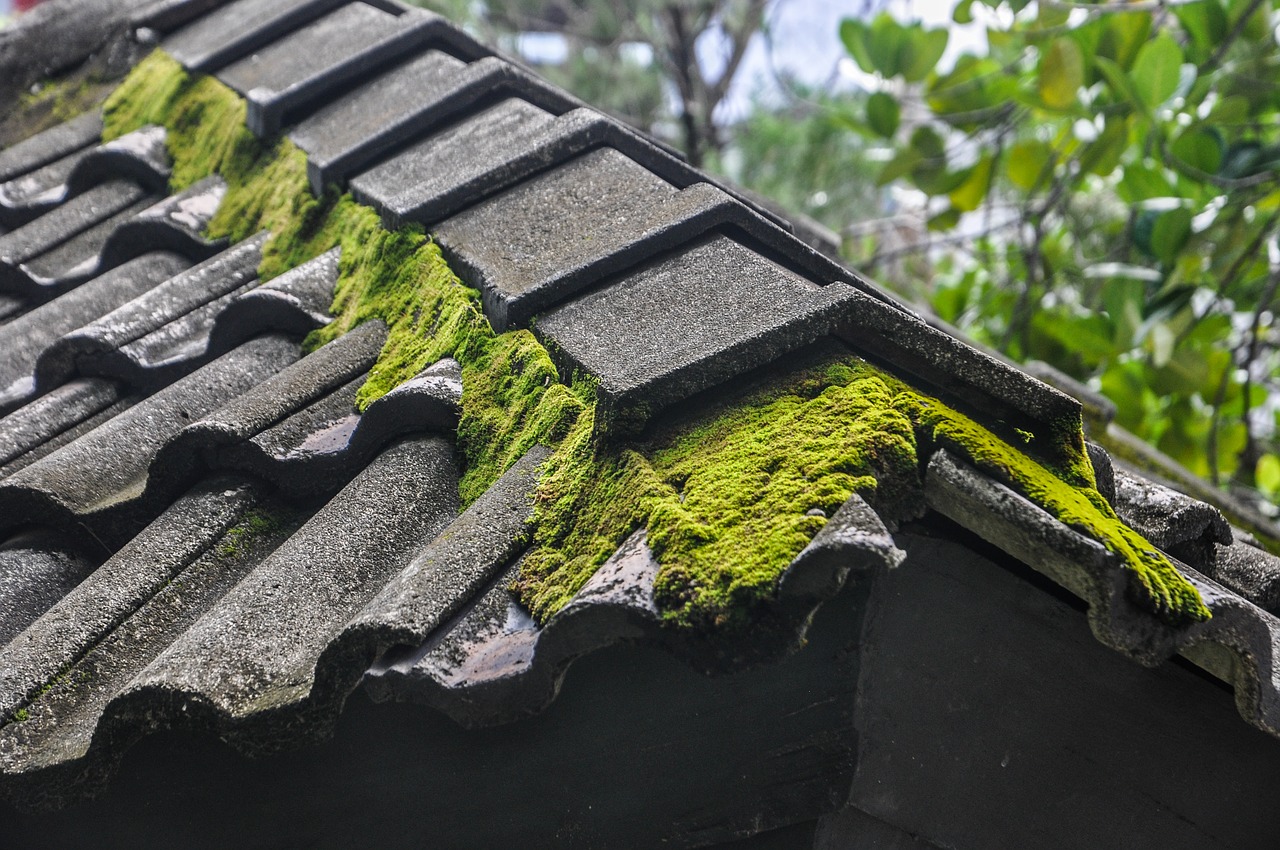
Mosses, algae and lichens cause damage to roofing materials, especially tiles:
-
- they retain water and make the tiles porous;
-
- When water is sucked in, the tiles crack under the effect of frost;
-
- Aesthetically, moss also gives a roof a neglected and dirty appearance.
The application of a preventive and curative anti-foam product can help you get back to a nearly new roof. This defoaming product can be applied on:
-
- the tile;
-
- the slate;
-
- cement;
-
- slate;
-
- shingle, etc.
The application of this product is ideal before the installation of roof paint.
Note: some products include a built-in water repellent, which makes the work easier.
Stages of roof defoaming
Good to know: A light cleaning of the roof, even if it looks clean, is useful: maintain it regularly, this will avoid longer and more expensive operations in the long run.
Tools for roof defoaming
The defoaming of the roof is done with a few professional materials:
|
Tools |
Explanations |
|---|---|
|
Roof ladder |
It is especially recommended if the roof is made of slate because you will not be able to walk on it: in this case, have a few flat wooden ladders fixed to the roof that will serve as a support. |
|
Brushes |
Brushes should be hard to remove resistant lichens. |
|
Water bucket |
The bucket must be equipped with a hook so that it can be attached to the roof ladder on a batten. |
|
High-pressure cleaner |
The sprayer will be used at low pressure to avoid cracking porous or damaged tiles. |
|
Sprayer |
A garden hand sprayer is ideal. However, it is necessary to rinse it thoroughly, especially at the joint, so that the defoamer does not damage it. |
|
Safety glasses, mask, gloves |
Most anti-foam products are toxic: the glasses and mask protect against possible splashes. In addition, gloves should be thick and not made of leather. |
|
Harness |
A safety harness can be a sensible solution: falling is still the number one danger in roof cleaning! |
Roof defoaming technique
– Remove moss, leaves and plant debris from the gutters.
– Brush black streaks and mosses with a very hard brush and water:
◦ do not use bleach, which would discolour the roofing, for example by removing the cullet from the tiles;
◦ insist on very hard and short vegetation.
– Rinse with a low-pressure cleaner.
– Spray the algicide, fungicide and anti-foam product all over the roof:
◦ it is essential that the weather forecast does not predict wind or rain;
◦ apply the product starting from the roof ridge and going down to the gutter;
◦ the layers must be regular;
◦ do not forget any part of the roof.
– If the substrate is very dirty, repeat the operation.
Rain will remove the residues in a few months (2 to 12 months depending on the contamination of the roof).
Note: for quick action, debris can be removed with a pressure washer a few days after the application of the product.
If you wish to do the defoaming yourself:
-
- Count approximately 20 litres of product for approximately 100 m² of the roof.
-
- It is advisable to buy a non-corrosive and biodegradable product to avoid damaging your plants and preserve nature.
If you wish, we can put you in contact with one or more roofing professionals. They will be able to propose you a personalized estimate.
1 thought on “How to Remove Roof Moss”