
How to Paint Wood (Part 1)
Contents
– Step 1: Prepare the wood surface before painting it
– Step 2: Fill holes and cracks with wood pulp.
– Step 3: Sand the wood
– Step 4: Clean the wood
– Step 5: Apply an undercoat on the wood
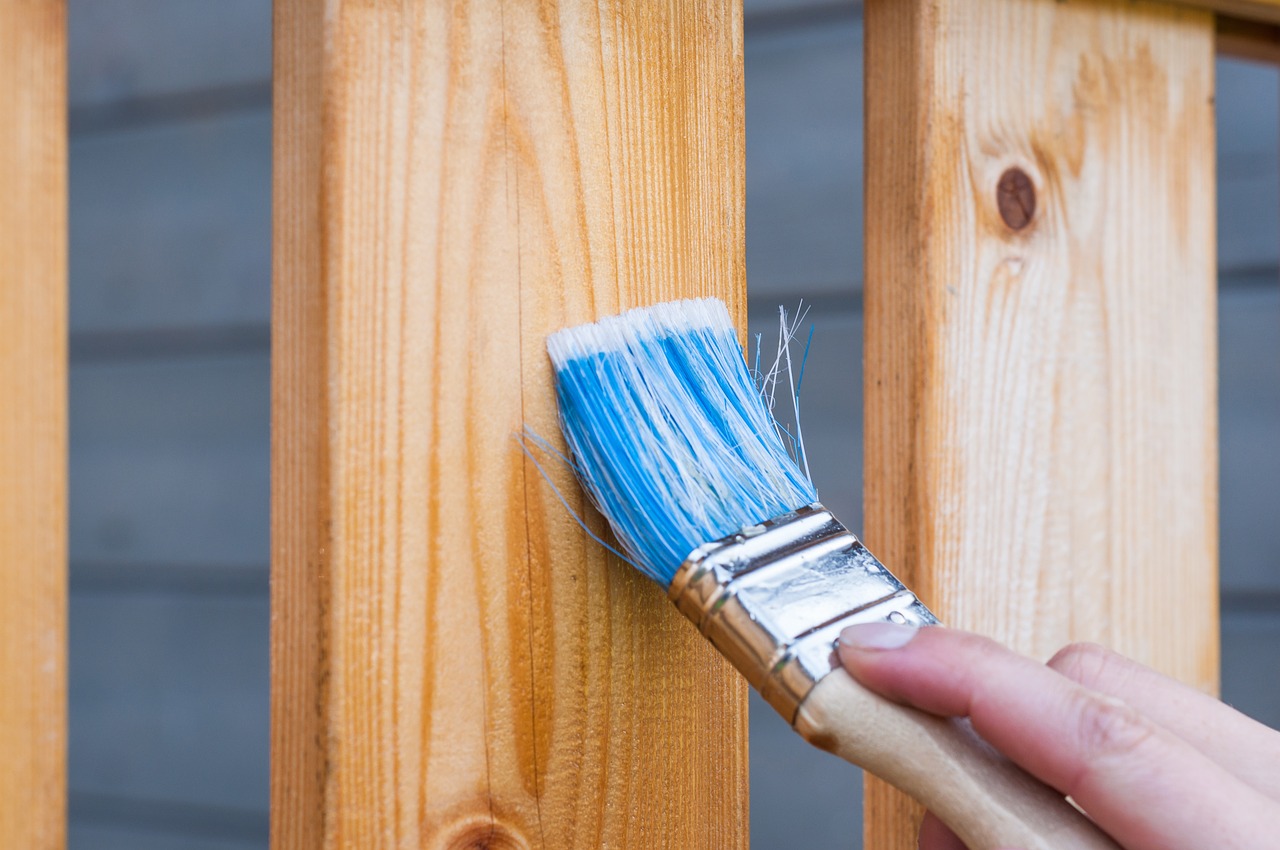
– Step 6: Paint the wood
– Step 7: Varnish the wood
This post follows a recent post on Homemade Tips: How to Paint Your Furniture. In this post, we will look at steps 1 and 2 to painting wood. And, the rest will be covered in part 2 by next week.
It is possible to paint the wood, whether it is a piece of furniture, a frame, or a joinery piece. This operation requires the preparation of the surface to be painted. Wood cannot be painted directly: wooden surfaces need to be sanded, cleaned and covered with a unique wood primer (undercoat). Once the surface has been prepared, you can paint the wood with your choice’s acrylic or glycerol paint. Wood can be painted with matt, gloss or satin paint.
Here are the materials and steps to follow to paint wood:
|
Roll |
|
Brush |
|
Paint tray |
|
Wood underlay |
|
Spatula |
|
Chemical stripper |
|
Steel wool |
|
Wood pulp |
|
Wood varnish |
1. Prepare the wood surface before painting it
Surface preparation differs depending on whether the wood is rough, new, old, already painted, waxed or varnished.
Painting raw or new wood
– Raw wood needs to be sanded and cleaned so that the surface is smooth.
– You will then apply a special wood undercoat before painting.
Painting old wood
If you are painting old wood that is not painted, waxed or varnished, clean it to remove dust and stains.
– Scrub with a quackgrass brush.
– Wipe with a damp cloth.
– Allow drying.
– If there are holes or cracks in the surface, fill them with wood paste.
You can then apply an undercoat and paint.
Painting varnished wood
You cannot paint directly on varnished wood because the surface is too smooth. Sand the surface with fine-grained sandpaper before priming and painting.
Painting previously painted wood
If the paint is in good condition, wash the surface before sanding with sandpaper.
– Wear household gloves to protect your hands.
– In a bucket, mix 100 grams of alkaline detergent with one litre of hot water.
– Soak a sponge and wash the surface.
– Rinse with clean water and allow it to dry completely.
– Sand with fine-grained sandpaper.
If the paint is chipped or damaged, strip it.
The paint can be stripped by thermal, chemical or mechanical stripping.
Painting waxed wood
Sand the surface with steel wool to remove the wax layer.
You can apply a wax remover beforehand. This is a product applied with a cloth to furniture and waxed surfaces and dissolves the wax.
– Dust the surface on which you are going to sand.
– Apply the wax remover with a lint-free cloth.
– Sand with steel wool.
2. Fill holes and cracks with wood paste
If there are holes or cracks in the wood, fill them with wood paste or multi-purpose coating. The wood paste is usually sold in tubes and is applied with a spatula:
– Use a spatula wider than the crack you need to fill to lay the wood paste or multi-purpose coating.
– Apply the paste or filler in the amount required to fill the crack, then smooth with a spatula.
– Allow hardening.
Once the paste is dried, lightly sand it with fine-grained sandpaper to smooth the surface.
This post will now continue in part 2 in our next publication by next week. Stay posted, and remember to leave your comments below.
2 thoughts on “How to Paint Wood (Part 1)”