
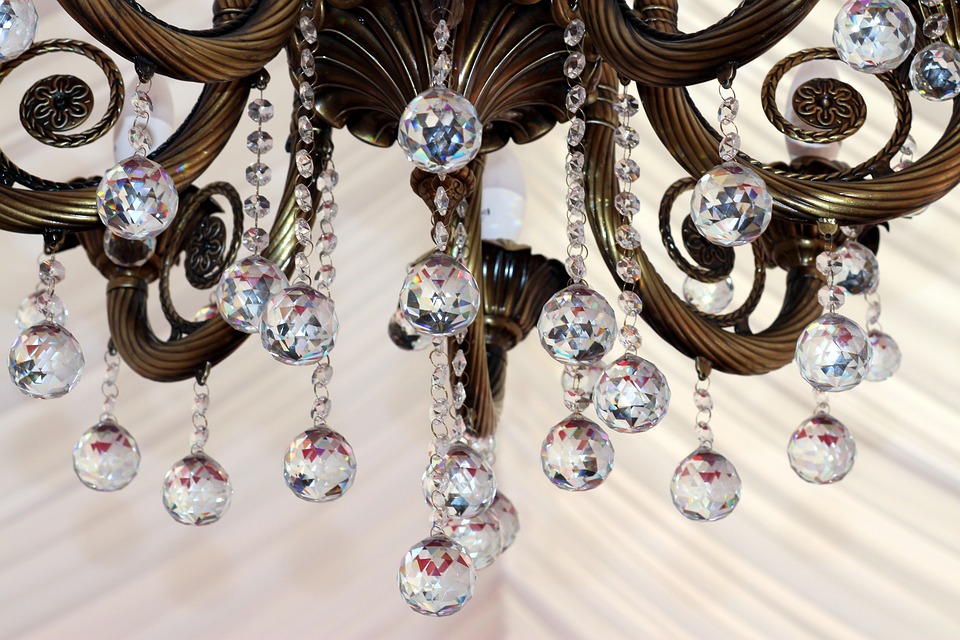
Home-made Chandelier Ideas
Times are changing, and we no longer need those traditional ready-made chandeliers. If you want to bring a unique touch to your home, read this article to know more!
1. Mason Jar Chandelier
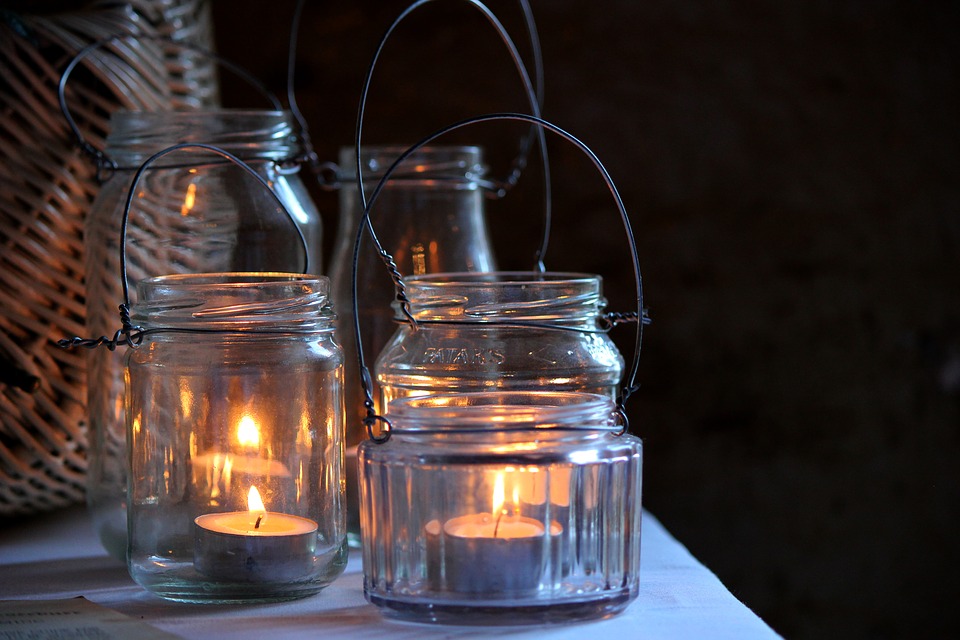
Did you know that you could create unique and wonderful chandeliers with Mason jars?
What you will need:
• Lights
• Mason Jars
• Wire
• Wire Connector
• Electrical tape
• Drill
• Pliers
• Pen or Marker
• Glue Gun
• Glue Stick
• Wire Strippers
• Cutter
Steps in making your DIY Mason jar chandelier:
Step 1: The first step includes making the light socket holder. So, mark and drill the lid of one Mason jar where you will then insert the light socket. Remove the middle and bend the sharp edges. Repeat the same for other Mason jars.
Step 2: Paint the visible parts of the Mason jar lid.
Step 3: Now, cut the wood to your desired length where you will hide the wires and support the light.
Step 4: Drill holes that are the same size as the wire for the lights on the wood and assemble the Mason jar with its wire and set the light to your desired length.
Step 5: Glue the wires in order to keep them in place and with the help of a wire connector, connect the wires in every light.
Step 6: It is vital to measure the distance from the light to where you will be putting the chandelier. The, you mark the wood and drill the holes. And, finally with a drill bit, connect the wooden panel to the ceiling.
2. Giant Confetti Chandelier

Forget the fact that it sounds weird or too childish to have a confetti chandelier. If you see one, you will instantly fell in love with it.
What you will need:
• Two dowels of 24-inch square
• Two dowels of 12-inch square
• Some fine twine
• Giant confetti rounds
• A wooden frame
Steps in making your giant confetti chandelier:
Step 1: You start by painting the dowels and assembling them into a rectangle shape using finishing nails or wood glue.
Step 2: Now, lay out the giant confetti rounds in a pattern. It is recommended to use three rounds per strand and space them about 1/2 inch.
Step 3: Using a tape, stick the superfine twine strand to confetti rounds and tie the strands to the wooden frame.
Step 4: Now with the help of heavy twine, hang your chandelier wherever you want.
3. Hanging Flower Chandelier
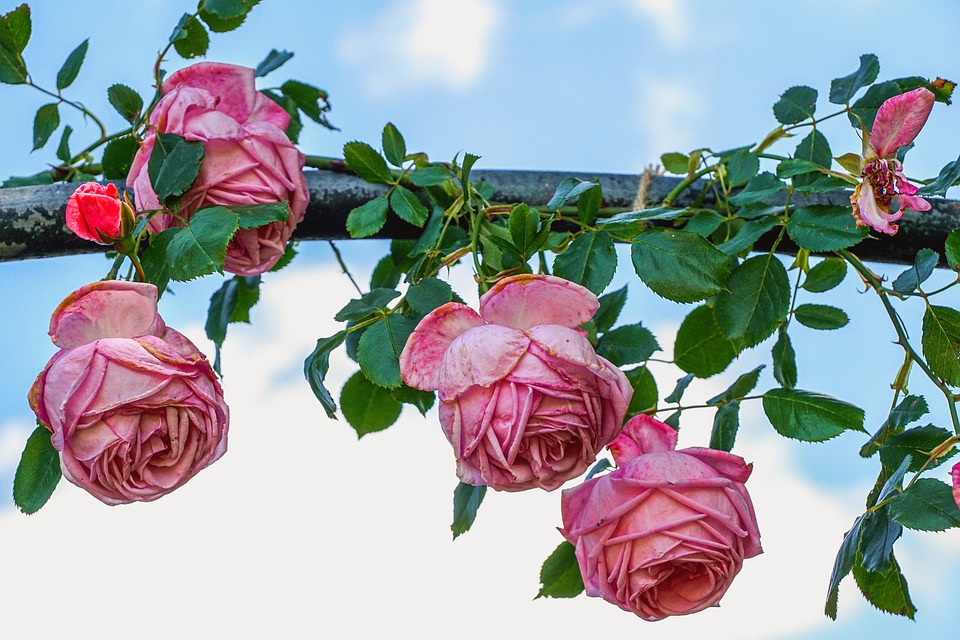
I know that a hanging flower chandelier may sound a bit absurd to you. However, on a recent trip, I came across a beautiful flower market where rows and rows of dried flowers were hanging upside down from the ceilings. And all I could think of was to come back at home and experiment the same thing by creating an upside-down flower chandelier.
What you will need:
• Long floral stems
• Inner ring of a 10-inch embroidery hoop
• Washi tape
• Clear thread
• Needle
• Small metal ring or clip
• Scissors
Steps in making your hanging flower chandelier:
Step 1: So, I started by wrapping the embroidery hoop in washi tape. I wrapped the tape around until the plain hoop was covered with my favourite washi colour, a fluorescent blue one.
Step 2: Next, I cleared the leaves from the stems of the flowers. Then, I trimmed each stem to about 4 inches from where the blooms ended.
Step 3: After threading a needle with clear thread, I inserted it through the end of the first stem and pulled it all the way through.
Step 4: In the next step, I tied the thread around the embroidery hoop so that the flower could hang a little below the hoop. I secured it with a double knot and trimmed the ends of the thread. I continued in the same direction until I was happy with the number of stems tied to my hoop.
Step 5: The final step should be carried out with caution. I cut out three long pieces of clear thread and tied them around the hoop equidistant from each other so that the hoop is supported at three points. I then brought the three pieces together at the top and tied them to the metal ring or clip to ensure that the hoop of flowers stays level. This was done to ensure that the chandelier hangs evenly.
So, aren’t these ideas cool? Please share your comments!