
Home-Made Chandelier Ideas – Part 2
I don’t like to blow my own trumpet, but I feel like I’m always coming up with unique ideas. I’m always baffled by people who can’t seem to think out of the box – that might have something to do with my overflowing imagination.
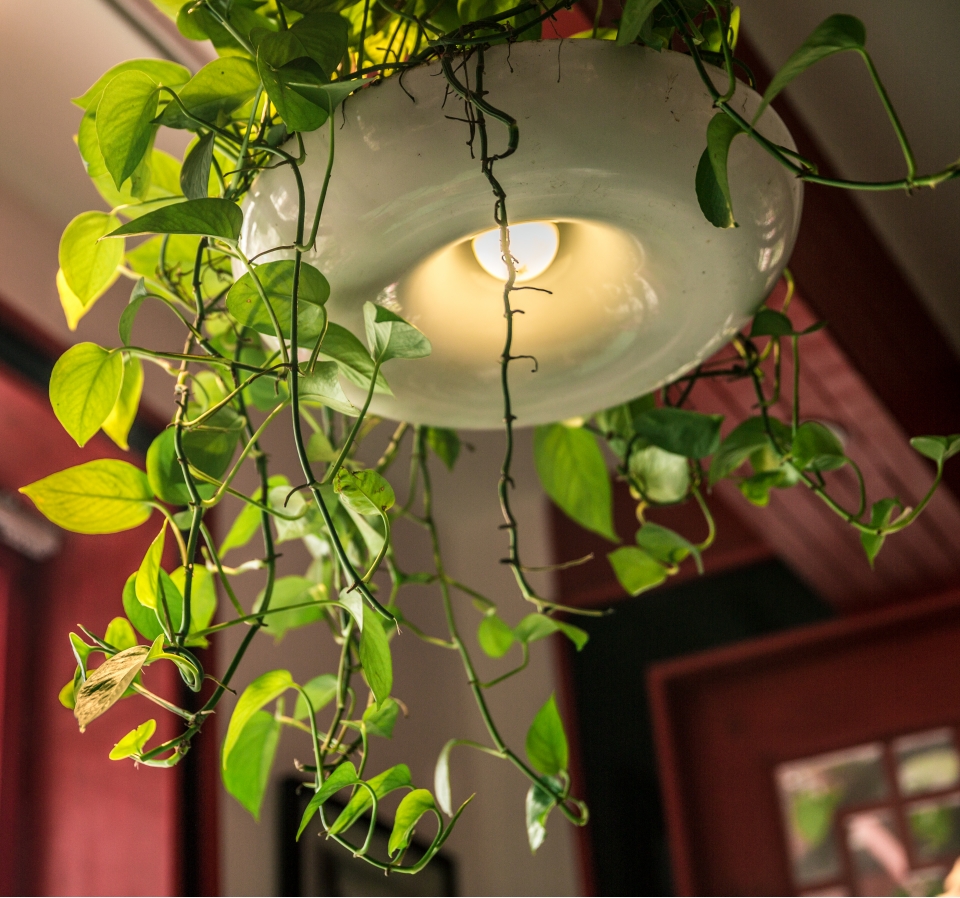
Anyway, today’s topic is not about my big brain (which admittingly is rather girthy I feel) but rather on hanging plant chandeliers. If you’re struggling to come up with ideas on how to add even more greenery to your home to give it a jungle vibe, then this is the perfect solution for you!
Hanging Plant Chandelier
Materials You Will Need:
- A branch with an interesting shape
- Eyebolt
- 30 feet of antiqued-brass beaded-ball chain
- 8 to 9 small glass jars
- Some small hanging plants such as 6-inch Senecio radicans
- 5 battery-operated tea lights
- 3 feet of chandelier fixture chain
- Drill
- Drill bit that matches the size of the eyebolt
- Wire cutters
- Pliers
Steps:
Step 1: the first step includes pre-drilling a hole in the top of the branch or in the spot where you will be placing the eyebolt. I recommend holding the branch lightly to find its natural balancing spot and then pre-drill the hole in that spot.
Step 2: Screw the eyebolt in the hole that you have pre-drilled.
Step 3: Use wire-cutters to cut the length of the chandelier fixture chain that you will need to hang the chandelier from the ceiling.
Step 4: Now, attach the chain to the eyebolt and use the pliers to close the gap in the link.
Step 5: Wrap a piece of ball chain around a jar just below the lip and cut the chain as per that length.
Step 6: Then attach a connector to one end of the ball chain, wrap it around the jar underneath the lip, and fasten the other end of the ball chain to the other side of the connector, so that the chain is properly secured to the jar.
Step 7: Now time to make a handle from which to hang the jar. So, loop a ball chain piece about the same size as the one you just made between the jar and the already attached ball chain.
Step 8: Fix a connector to the end of the second ball chain and then to another ball about eight balls up.
Step 9: Repeat the same step on the other side of the jar, so that you have made a loose handle across the top of the jar. And then do the same for the remaining jars.
Step 10: Cut a length of ball chain between 6 inches to 15 inches so that the jars hang at different lengths.
Step 11: You need to attach each length of the ball chain to each jar’s handle by looping the chain around the handle and then using a connector try to fasten the end of the chain back itself, as close to the end as possible.
Step 12: After breaking the Senecio radicans or some other small plants into four parts, put each part in a jar.
Step 13: Place the battery-operated tea lights in the remaining jars.
Step 14: Attach all the hanging jars to the branch in various spots by wrapping the ball chain around the branch and using a connector to attach it back to itself.
Step 15: During the process, it is vital to check periodically and see how the jars’ weight is distributed across the branch.
Step 16: Finally, the last step! When you are finished, the chandelier should be balanced and hung evenly.
Yes, I know that the whole process can be really tiring. But the end result is very satisfying. So, please share your comments and tell us whether you will take the time out to create this hanging plant chandelier.