
Tips to Make a Drawer
Summary
– Step 1: Make the wood cutouts
– Step 2: Groove the peripheral pieces
– Step 3: Make the rabbets
– Step 4: Assemble the drawer
– Step 5: Assemble the rails
Making a drawer requires precision in taking measurements and the right tools. Among the possible assembly techniques, the rabbeting technique is the simplest, as described in this post, for drawers’ design. A few cuts, a blank assembly to check the excellent fit of the elements, some glue, and you get a solid and practical drawer.
Materials needed to make a drawer
| Wood glue | About 9 $/kg |
| Router | $100 to buy or $35 per day to rent |
| Groove cutter | From $23 to buy or $8 to rent |
| Wooden boards | Depending on species and dimensions |
| Planks of medium wood | Approximately $15 per m² |
| Sander | From $30 onwards |
| Jigsaw | From $30 |
1. Make the wood cuttings
The measurements must be exact for the drawers to work correctly. It is advisable to design the drawers after having made the furniture that will hold them.
– Use a tape measure to measure the depth, height and width of the destination space.
– Subtract 2 mm from each measurement.
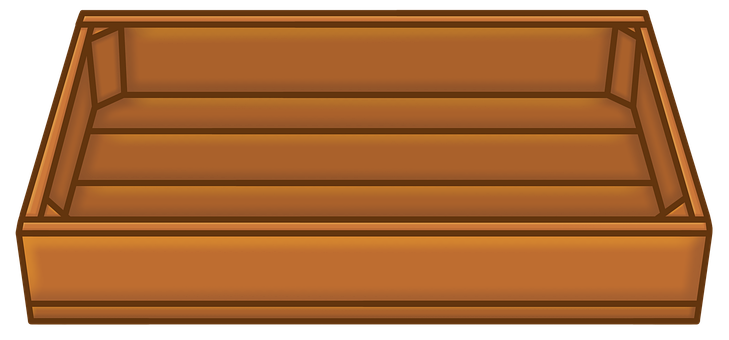
For cutting, it is necessary to consider the thickness of the wooden boards in the overall dimensions of the drawer. The peripheral pieces’ assembly is done by making a symmetrical rabbet in each panel to fit into the sideboard. The bottom of the drawer fits into a groove made in the 4 peripheral boards. You must take the thickness of the peripheral boards minus the groove’s depth into account to calculate the dimensions of the bottom of the drawer.
– Cut 4 boards of wood to the correct size with a jigsaw.
– Sand them if necessary.
– Cut a medium board to size to make the bottom of the drawer.
Tip: Allow for an extra piece of wood if you make a mistake in the following steps.
2. Groove the peripheral pieces
Groove the 4 peripheral pieces with a groove cutter to the thickness of the drawer bottom.
– Leave a margin of 5 mm between the groove and the bottom edge of the boards.
3. Make the rabbets
The assembly of the peripheral parts is done by making symmetrical rabbets. If the wood board is 14 mm, we make a rebate of 7 × 7 mm. Each rebate will match the rebate of the sideboard.
– Make the symmetrical rabbets on the 4 peripheral pieces with a wood router.
4. Assemble the drawer
Assemble the different parts to check that they fit together correctly.
– Glue each piece with wood glue.
– Assemble them a second time and hold all the pieces together with corner clamps.
– Allow drying.
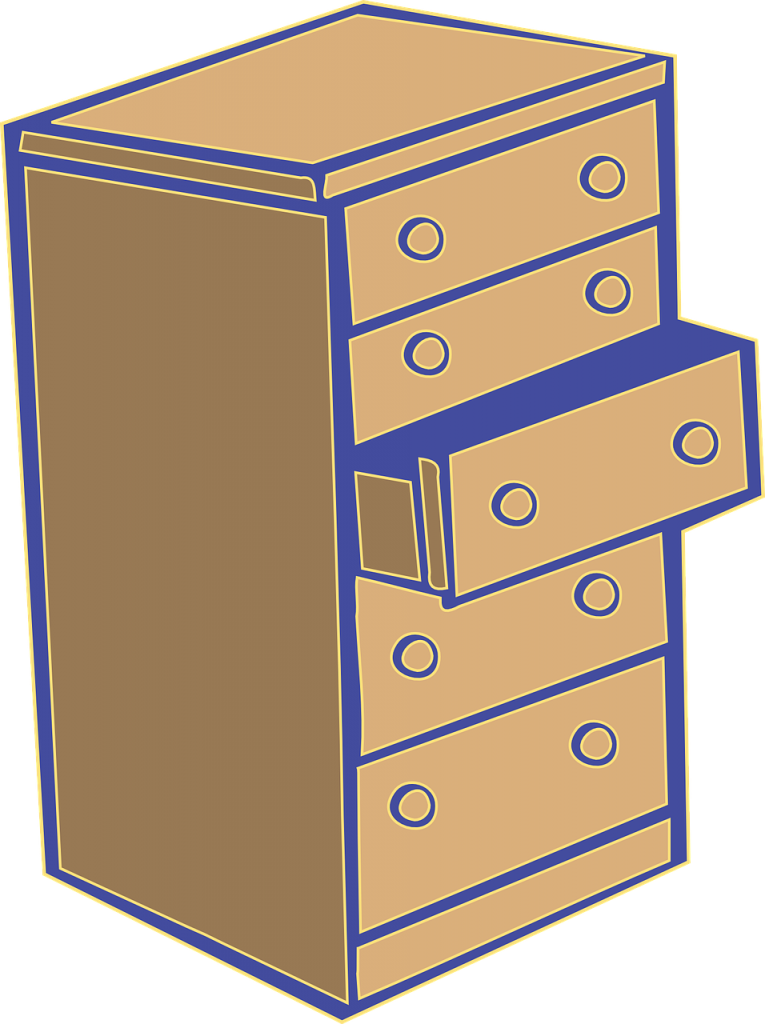
5. Mount the rails
It is possible to install runners on your drawer for more comfort. However, it is necessary to adapt the dimensions of the drawer. To do so, you need to adjust the dimensions of the drawer:
– the space between the vertical uprights of the furniture and the drawer must be 1 cm on each side.
– the distance between the back of the drawer and the bottom of the cabinet must be 1.5 cm.
The drawer’s front should be wider to cover the side gaps and hide the sliding rails.
Fix the rails in the drawer box
– Draw a line 3 cm from the bottom of the cabinet on the vertical uprights.
– Position a fixed rail:
◦ install the casters (rail rollers) at the front and flush with the pedestal’s edge,
◦ align the mounting holes with the line.
– Mark the locations with a pencil.
– Pre-drill the mounting holes.
– Secure with suitable wood screws.
– Proceed in the same manner on the other side.
Attach the mobile rails to the drawer
– Position the mobile rail on the bottom/outside corner of the drawer flush with the front.
– Fasten it with the appropriate screws.
– Do the same on the other side.
– Insert the mobile rails into the fixed rails. The casters should overlap before sliding into the track.
Attach the drawer front
It is possible to create 2 types of drawer fronts:
– A front panel cut to the dimensions of the pedestal. The front of the drawer will hide the edges of the cabinet and mask the rails.
– A front panel more extensive than the drawer will fit into the cabinet and hide the rails.
Finally, measure the space between the vertical posts and the height of the drawer. Cut a board to these dimensions, then screw the front onto the drawer.