
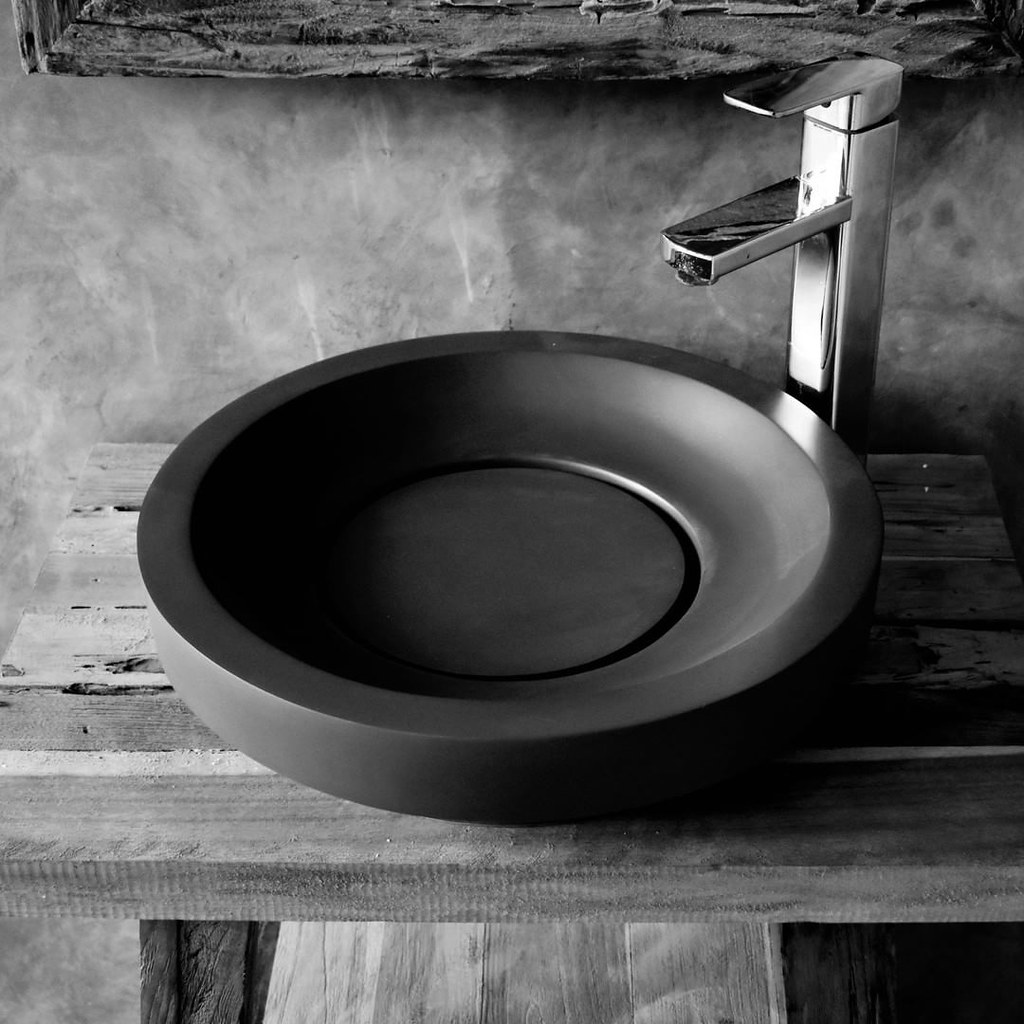
Creating Your Own Bathroom Sink
When it comes to creating a bathroom sink, you have to know that setting aside at least a little budget is critical.
To be honest, when it was my turn, I’d thought it would be boring and daunting, but it turned out to be quite interesting and fun. I realized you could let your creativity flow and create a showpiece that would give you the most bang for your buck.
#1. Toilet Tank Sink

I don’t know from where I got this kinda weird idea (probably from the net), but some of my friends really liked this design of sink that goes on top of a toilet.
If not about the design, I’m sure you are at least curious about how it works.
See, once you flush, the fill water is reverted to a faucet. Oh and don’t worry, it’s completely clean. So, you can wash your wash normally and the water will go directly into the toilet tank.
Surprisingly, it has been found that this model can save up to around 1 gallon of water per person and that too per day!
So, ready to try your own toilet tank sink?
Here’s How:
For the dimensions, you can use a 3D modeling computer program. The thing is, I tried to make mine out of concrete and so using a silicone rubber, I made a mold of a tank lid. Of course, you can use any regular concrete mix. And, if you are ignorant like me, you’d make the same mistake of bypassing the fact that bubbles need somewhere to go when the concrete is being poured. Oops!
Once all the air bubbles were ground out, I used a cement-based patch and skim coat to fill all the holes. After sanding down to 400 grits, I finished off with a concrete water sealant.
Now, the next stage involves some plumbing work which is quite easy – that is, if you are used to such tasks.
What you need to do is to secure that black tube (the one that is generally linked to your tank) into the bottom of the faucet. And for that, a variety of brass fittings were used.
Once you are done with the project, look at the extremely functional masterpiece you’ve created with your own hands.
#2. Transform An Antique Dough Bowl Into A Sink
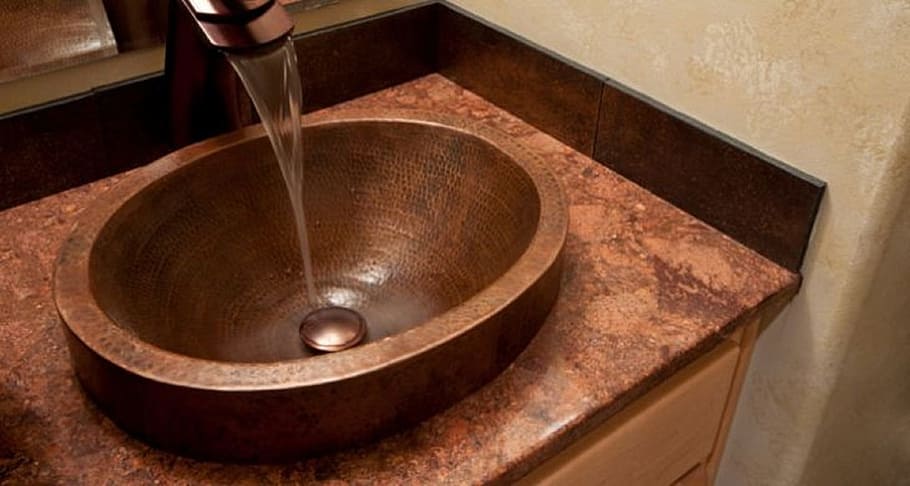
I think out of all designs and ideas I’ve seen for creating DIY sinks, this one seriously outshines the others, ranking at the very top of the list.
I know it’s highly unusual to think of such ideas, but it goes without saying that this stylish and elegant piece will definitely “wow” any guests – more “wows” when you tell them you actually made it.
And, want to know the plus point in here?
You’ll have a rustic touch to your bathroom.
After a little research, I’ve found that if you go to the right place, you’d easily find an antique dough bowl with the perfect shape, size and color.
So, How Exactly Can You Turn an Antique Bowl Into a Stylish Bathroom Sink?
Step one: You need to seal the wood surface so as to get it watertight and for that, you can use any waterproofing, oil-based sealants.
Step two: For this task, I would recommend you to contact a professional framer rather than doing it yourself. Get him to install two steel brackets into the wall that would “crib” the dough bowl under the base of each side.
Step three: See, initially, my plan was to drill a drain hole right in the middle of the sink, but when it was fixed to the wall, I noticed that the end of the bowl had a kind of small dip that could encourage water to pool in those spots. Therefore, I ended up drilling for two drains, one on each side. Do the same so then the water would hit the middle of the bowl and then drain from each end.
Step four: Again, call the professionals and get them to install a p-trap that would connect the sink into your plumbing system.
Step five: Time to install the wall-mounted faucet. Whether you’ll handle the task yourself or ask the help of experts, know that the job is a little bit more difficult than what you’d anticipated.
Step six: The last stage is when you call a painter (or you go DIY route) and get the wall repainted properly.
So, have you got any creative ideas?