
Easy DIY Flower Arrangements That Can Instantly Brighten Up Your Home (Part 3)
The following floral arrangements are the Happy Crafts for this week!
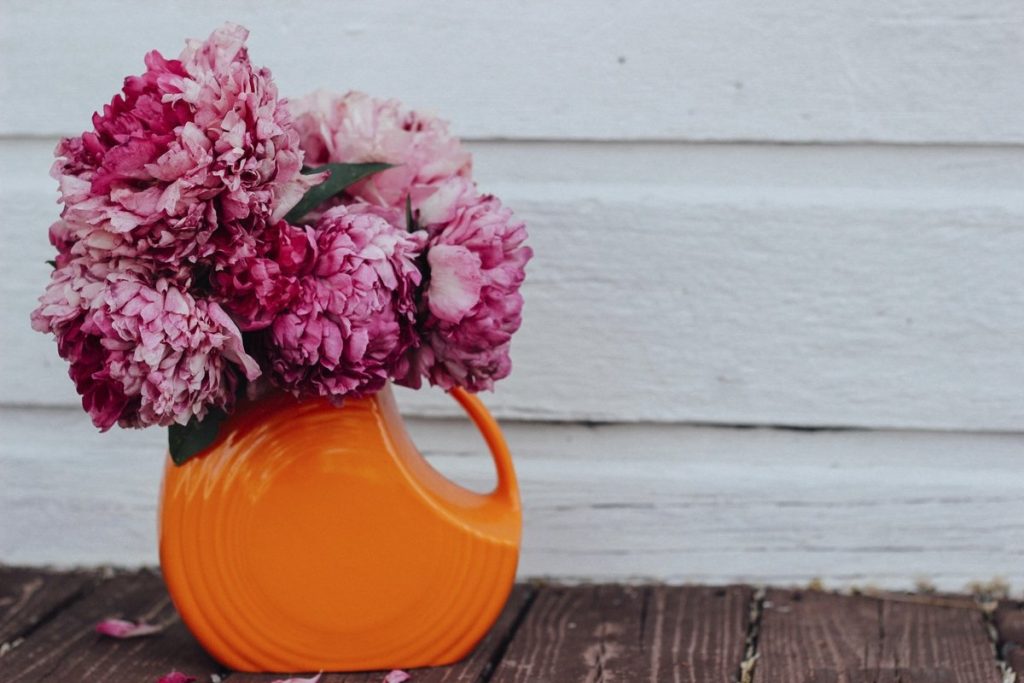
When it comes to home décor, arrangements are my favorite. So, I hope you like them!
DIY Paper Flowers Décor
 What you’ll need for this flower arrangement:
- A pencil
- A branch
- A roll of green leaf ribbon (10 . 30 yards)
- A glue gun along with gun sticks
- A pair of scissors
- A long ruler
Instructions to make the DIY Paper Flowers Décor:
Step 1:
Start by taking the branch, getting rid of all the leaves and cleaning it.
Step 2:
Cut tissue paper into 2 1/2′′ x 3′′ strips after measuring it. Cut off 15 pieces of tissue paper at a time. See the recommendations below for more effective paper cutting.
Step 3:
Now it’s time to stack around five pieces of tissue paper per pile. Then, proceed to cut the leaf ribbon each into 5-inch lengths.
Step 4:
Fold the tissue in 1/4 inch increments using a pile of paper (5 tissues). It should look like a fan.
Step 5:
Wrap in half and make very small slits on both sides. Take caution not to cut the incision all the way through to the opposite side.
Step 6:
Make a knot with the ribbon and insert it through the slits. You want it to be a little tight, but be careful since this ribbon is a little delicate.
Step 7:
Time to unfold all the layers of tissue paper to give the flower its shape. Then, using the ribbon, stick the paper flowers to the branch.
Step 8:
This is the beginning stage of creating the flower buds. So, start by cutting small pieces of tissue paper and folding them. You can fold them in half and then pinch the bottom (that’s the technique I used). Then, proceed by trimming two leaves off the ribbon. Next, with the glue gun, stick the tissue bud to the lead and then glue another one right on top. Finish by sticking the bud to the branch.
Step 9:
With the ruler and a pencil, try to measure off 2″ x 3 1/2″ size rectangle.
Step 10:
Fold the paper in 3 1/2 stages, then fold the entire page as indicated. All of the folds should be cut. It would be ideal if you had a few of 3 1/2′′ wide paper strips on hand.
Step 11:
Next, mark 2′′ on your strips of paper with a line. Then fold the entire sheet as shown above.
Then stack all of your sheets and set your folded page on top as a template. Cut on the folds now.
Step 12:
This is the last step, where all your papers should be ready to be folded and arranged properly as required. Once the floral arrangement is ready, you can display it as a masterpiece in your living room or dining room. Or, you can also use this DIY floral arrangement as a source for a classic focal home décor. It’s completely up to you!
DIY Pink Floating Blooms
 What you’ll need for this flower arrangement:
- Bubble Raft
- Flowers
- A pair of scissors or any other kind of cutter
Instructions to make the DIY Pink Floating Blooms:
Step 1:
You can start by trimming the bubble raft and try to make it fit around the flower base (like as if you are making the flower wear a skirt).
Step 2:
Cut and make a disk out of the bubble wrap and try to trim it slightly smaller than the petals of the flowers. Then, fold the wrap and make a hole to fit the stem through it.
Step 3:
Once you’ve slipped the flower’s stem through the hole, arrange it properly (cut a part of the stem if it’s too long) and set it in on the water. You can arrange the flat petalled flowers with the bubble skirt on the water.