
Shabby Chic for Beginners
Décor these days is less about status, more about personality. People are now collecting beautiful recycled, vintage, retro, up-cycled and found objects, creating their own fabulous paint effects and coming up with some truly awesome DIY decorative ideas. So how, exactly, do you shabby chic furniture and other wooden objects and achieve ‘the look’?
What is Shabby Chic?
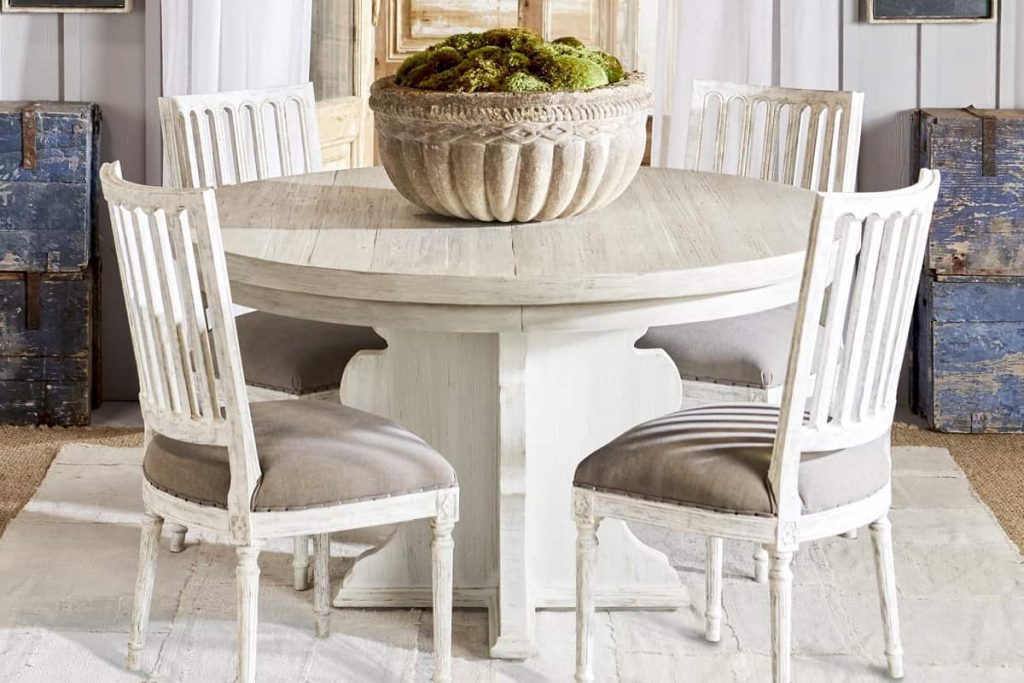
Shabby chic items are often heavily painted through the years, with many layers showing through obviously time-worn areas. The style is imitated in faux painting using glaze or by painting then rubbing and sanding away the top coat to show the wood or base coats, known as “distressing” the finish of the furniture. Furniture pieces that are not genuine antiques are usually selected for their resemblance to older furniture styles, and may be reproduction furniture with a distressed finish. Elaborate furniture appliques depicting flower swags and garlands, cherubs, and other motifs may be added.
The type and extent of the Shabby Chic look is very much down to personal preference. For a subtle aged look stick with a single colour and gently distress the natural contact points such as handles and edges to expose areas of bare wood. For a more dramatic effect, use 2, 3 or more layers of colour so that different levels of wear and tear can be achieved.
What Will I Need?
Knowing what you need in terms of paint and materials will vary depending on the size of the project and the desired look that you wish to achieve. You’ll need 2 or more colours of a chalk furniture paint, clay paint or emulsion paint.
A clear or light wax is sometimes applied over the top of ‘chalk paints’ to seal in and protect the delicate finish. Alternatively, coloured waxes can be used to create an even more aged look. Although waxes can be used to enhance and protect furniture, they are not essential as some paint types are more durable than others.
How To Shabby Chic
Now that you’ve figured out what piece of furniture you want to shabby chic and what result you’re looking for, let’s get down to brass tacks:
Prepare the wood – Remove the existing wood finish to create a key so your new paintwork will stick properly to the surface. If the wood has been polished with wax, then a wire wool pad plus turps or white spirit should do the trick. If it’s varnished, use sandpaper or a good quality paint and varnish remover.
Apply a coat of water-based acrylic primer – This simply gives your furniture a smoother finish, making it easier to work on. Because it’s a shabby chic project, you don’t need to be neat. Even if you’re rubbish at painting, you’ll be fine. Have fun!
Apply two layers of paint – Next you need a couple of thin layers of coloured water-based acrylic paint. Let the first layer dry completely before adding the next one. You can also gently sand the first layer with very fine sandpaper, say 180 grit, to provide a better finish.
If you just want plain, painted wood, just seal the paint with acrylic varnish then skip to Step 8 below. Then you’re done. But there’s more. If you want to go the whole hog and get involved with actually distressing furniture, we’ll look at that next.
Distressing your painted wooden furniture – Distressing furniture also involves the first Steps 1 & 2 above. But instead of applying two coats of the same colour, you create a two-colour distressed finish where the second layer is rubbed away to reveal the first for a ‘natural’ wear and tear look. Again, acrylic water-based paint is perfect for this.
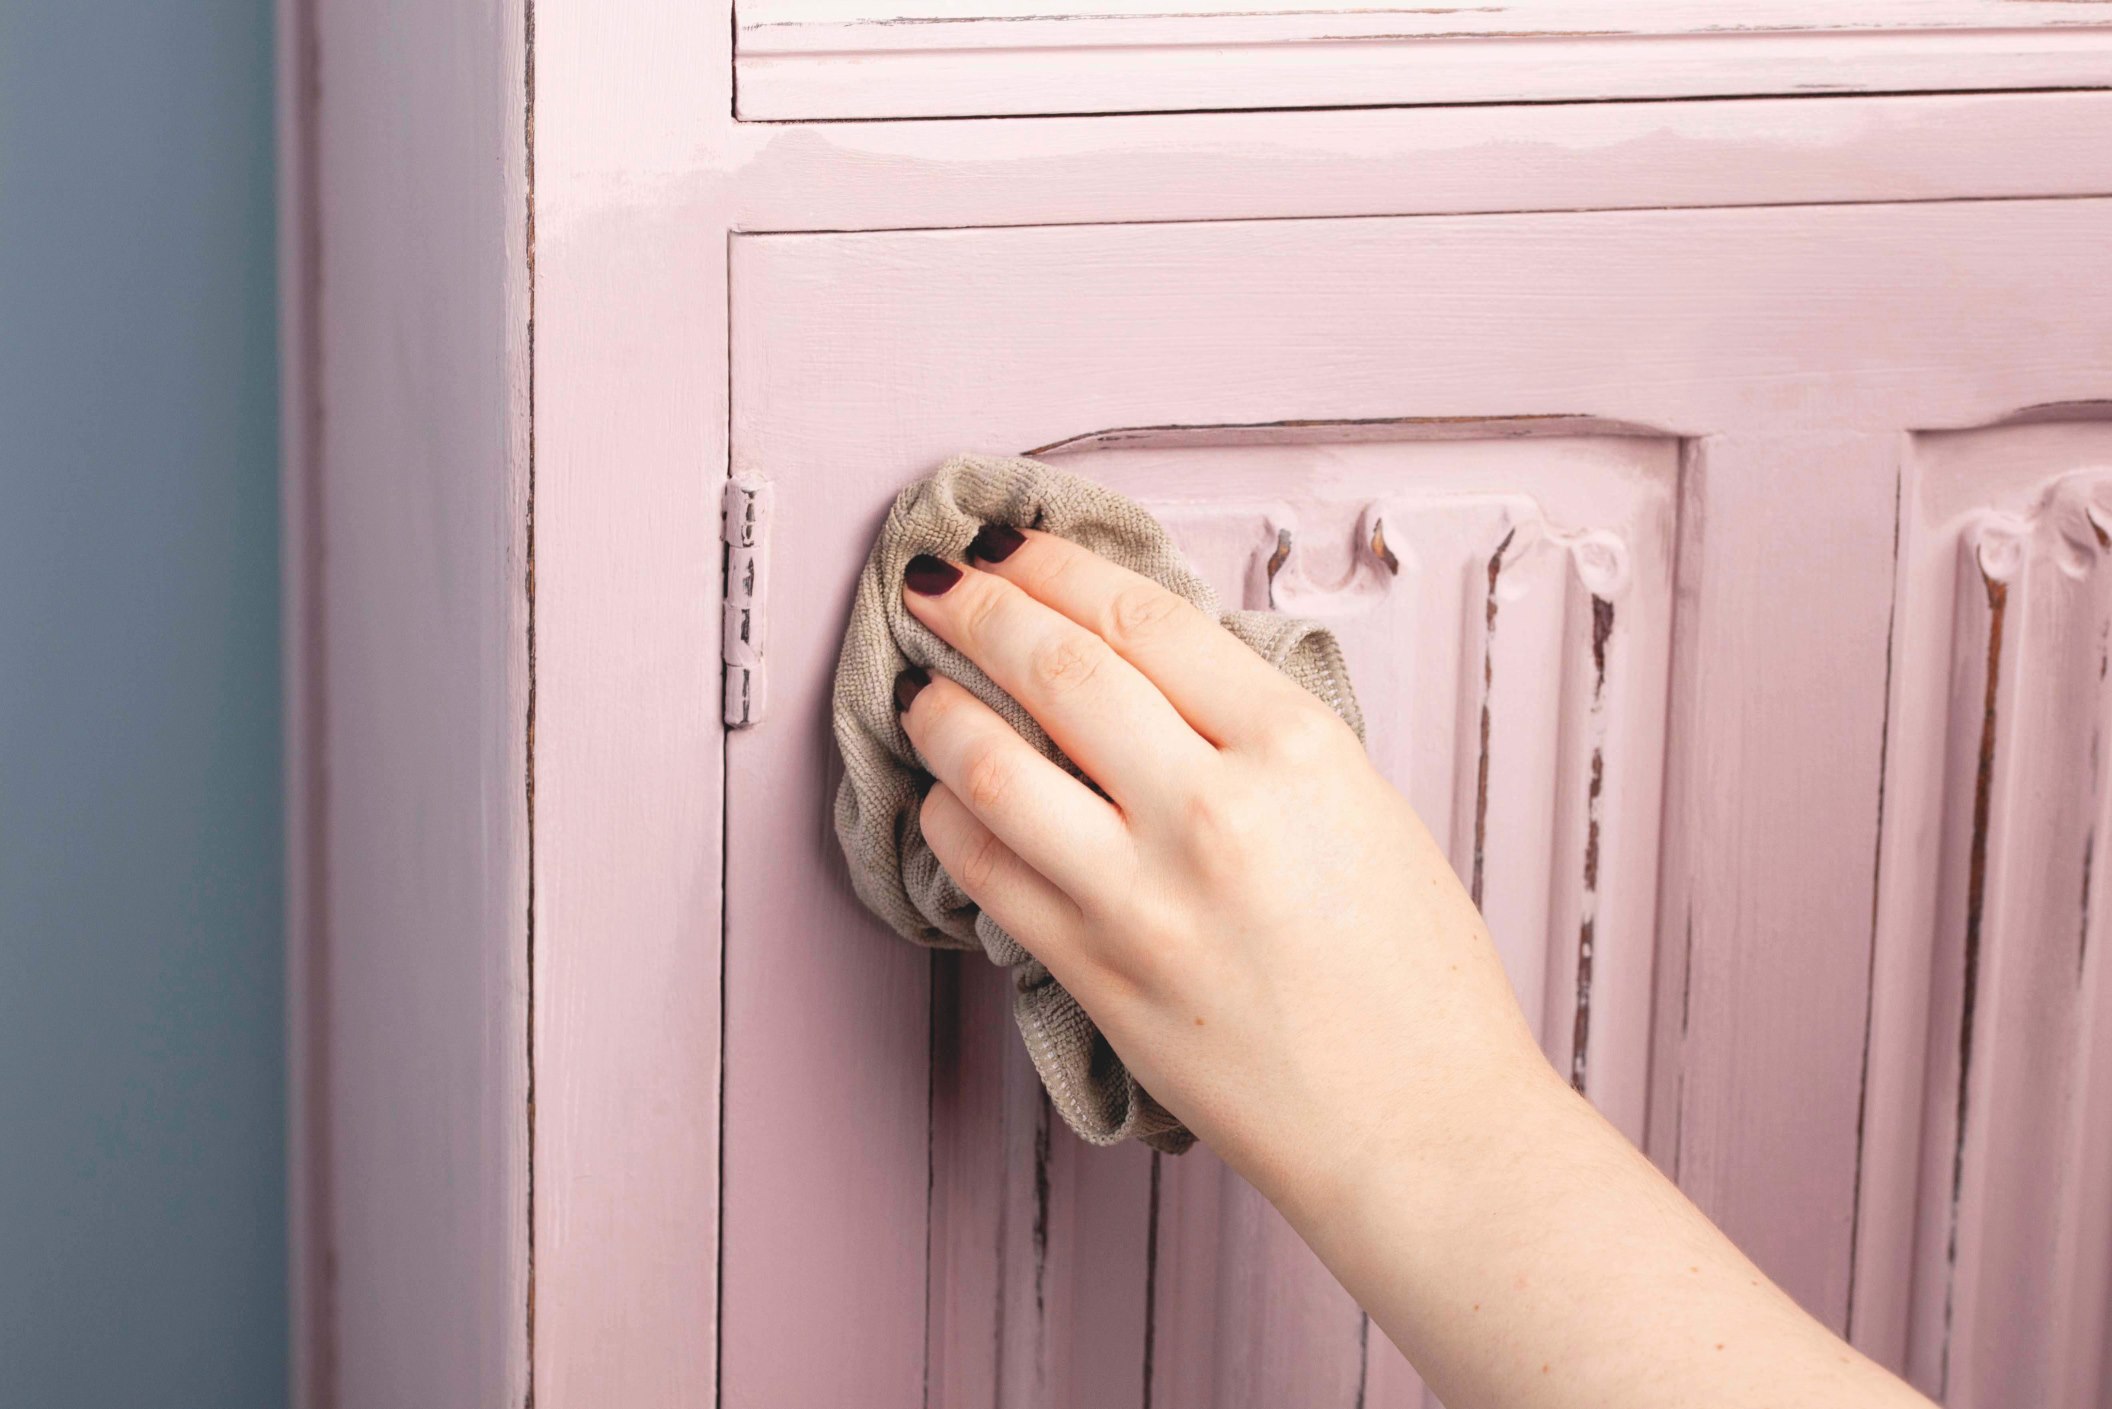
Add your first colour and let it dry completely. Now for the clever bit. You simply dab streaks of clear furniture wax where you want the wood to look distressed. You can use a paintbrush to apply the wax, or cloth, or a small sponge – a kitchen sponge will do – or even your fingers. The wax repels the second layer of paint, letting the base colour show through. You need to paint the second layer of paint over the whole thing, wax included. Let it dry, then wipe the furniture with a soft cotton cloth to take the paint off the waxed areas, leaving a brilliant effect that looks as though it’s just come out of a posh interior décor shop.
Not distressed enough? You can attack the pre-painted furniture with wire wool or sandpaper, scrape it with a large nail or even bash it with a hammer to take off the paint as deep as wood level. If you go wrong, just paint over it, or wax and paint it again. The most difficult part of the job is to make the distressed effect random – avoiding creating a pattern of any kind. As natural pattern-seekers, humans find it difficult to ‘do’ random. But luckily it’s more or less impossible to get the shabby chic look wrong.
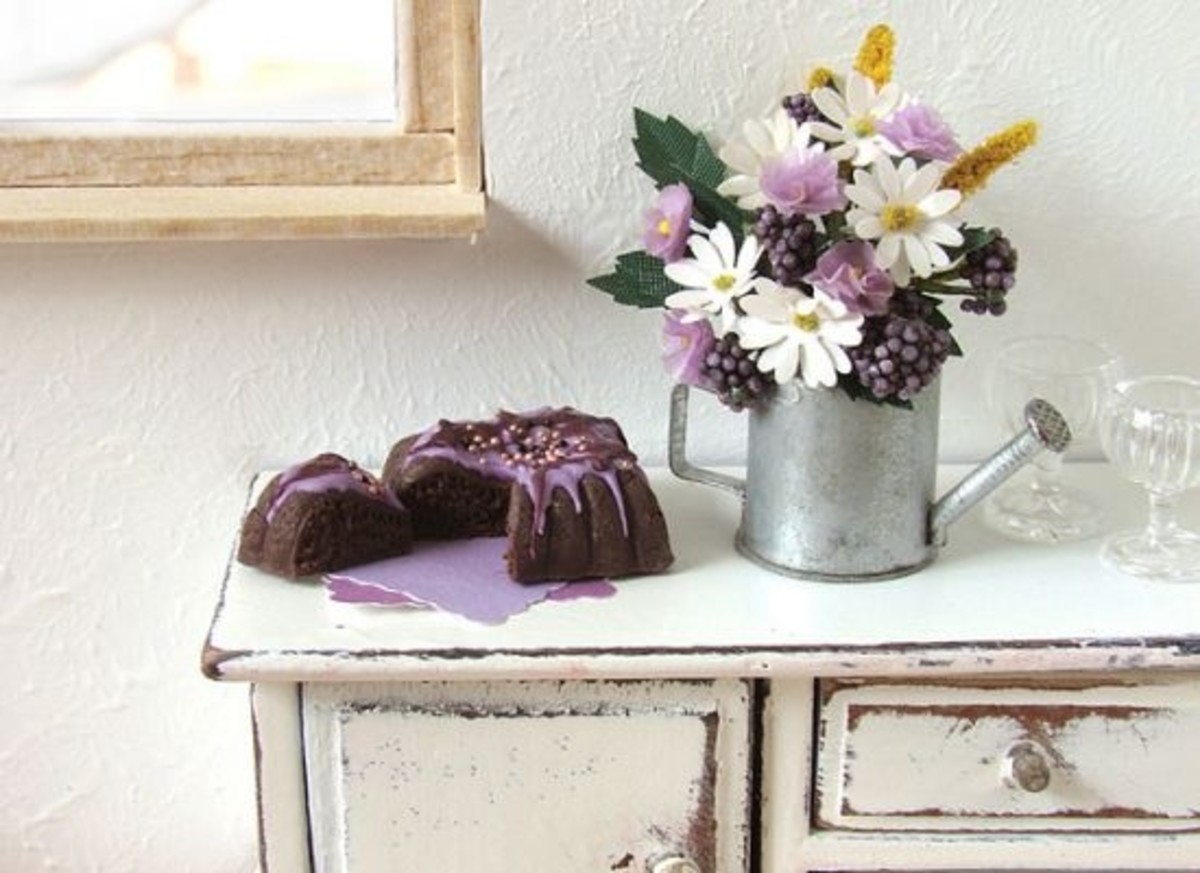
And finally… the finish – All you need is a good quality clear beeswax polish or furniture polish. This delivers a lovely lustre as well as protecting the surface if not using a varnish. For a final splash of colour, you can add applique images. Here’s an idea: buy a second hand book about butterflies, ferns, birds or flowers from a charity shop. Cut out a handful of beautiful pictures, for example a host of gorgeous butterflies or a flock of birds. Glue them onto your furniture with PVA glue after you’ve completed the paint effects but before you wax it. If they stand out too much, paint a watered-down layer of your top coat colour to mute the colours and blend them in with the background. Then wax over the top once everything is 100% dry.