
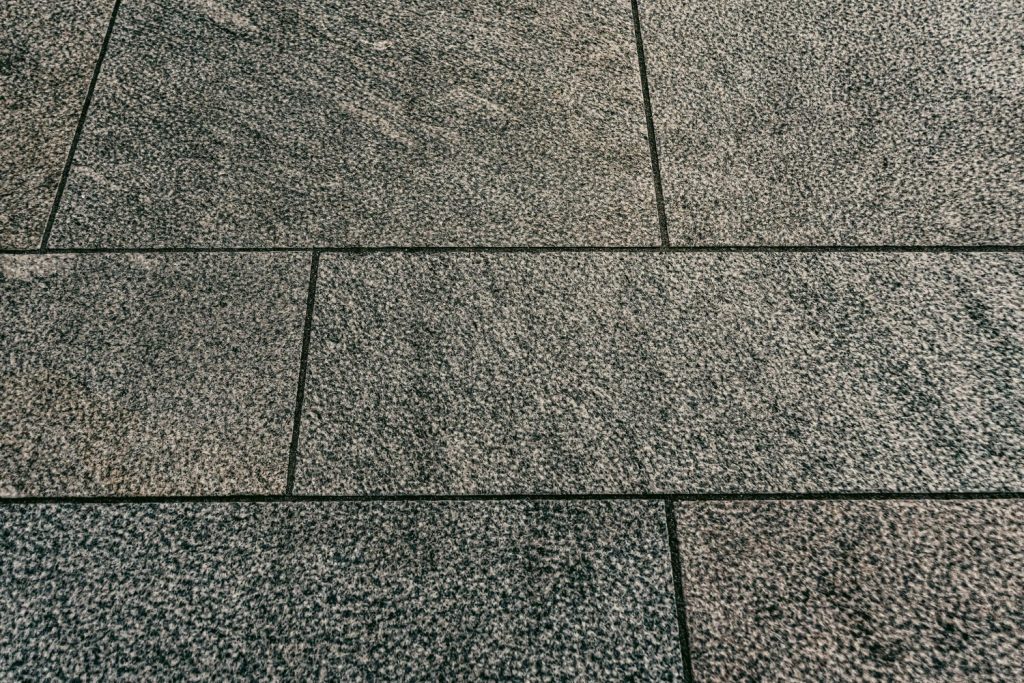
A concrete terrace can look durable while hiding the conditions that make an outdoor tile floor fail: trapped moisture, a poorly finished surface, or water that has nowhere to drain. When temperatures fall below freezing, water beneath or inside a tile expands, placing stress on the bond and grout; repeated freeze-thaw cycles can eventually cause cracks, loose tiles, or a lifted surface.
Choose Frost-Resistant Tiles and Compatible Materials
Start with tiles explicitly rated for outdoor use in climates that experience freezing weather. Dense porcelain is often a practical choice because its low water absorption reduces the amount of moisture available to freeze inside the tile. In freeze-thaw regions, look for a manufacturer’s frost-resistance specification; porcelain with water absorption at or below 0.5% is a common benchmark, but the product must still be approved for the intended exterior conditions.
These material choices work together, so check the product guidance before buying rather than selecting each component in isolation. The following comparison highlights common options and their limitations.
| Tile type | Outdoor strengths | Points to check |
|---|---|---|
| Porcelain | Low absorption, durable, available in textured finishes | Use exterior-rated products and full mortar support |
| Natural stone | Distinctive appearance and strong performance for suitable varieties | Confirm freeze-thaw suitability; sealing may be needed |
| Quarry tile | Tough surface with useful traction | Check porosity, frost rating, and maintenance needs |
| Standard ceramic | Many styles and suitable for some sheltered spaces | Often absorbs more water; avoid unless specifically exterior-rated |
Inspect and Prepare the Concrete Slab
Even excellent tiles cannot compensate for an unstable base. Examine the slab for loose or crumbling areas, flaking concrete, standing water, significant cracks, and signs of movement. Stable hairline cracks may be manageable with an appropriate crack-isolation system, but widening cracks, displaced sections, or extensive damage call for professional assessment before tiling.
Concrete must be clean, sound, and sufficiently dry for the chosen installation system. Remove dust, leaves, grease, paint, sealers, and other substances that could prevent adhesion; coatings may need mechanical removal. A newly poured slab commonly needs at least about a month to cure before tiling, although temperature, mix, thickness, and manufacturer requirements affect the actual waiting period. Moisture testing can help identify vapor levels that exceed the adhesive or membrane manufacturer’s limits.
Build a Reliable Drainage Slope
Water must flow away from walls and door thresholds rather than collecting beneath the finished surface. A typical target is approximately 1.5% to 2% fall away from the building, adjusted to site conditions and applicable guidance; around 1/4 inch per foot is close to 2%. Check the slope with a long level or straightedge before laying, and make sure drains, edges, and transitions provide a clear route for runoff.
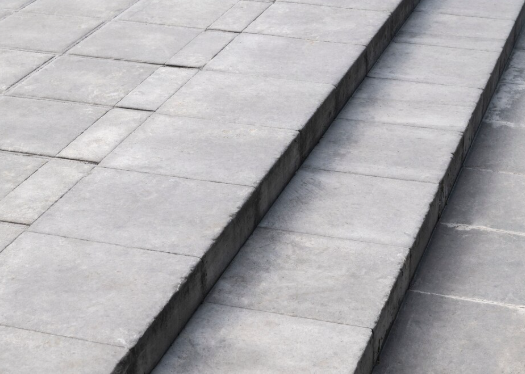
Good preparation controls the conditions beneath the tile, where frost-related problems often begin. Once the slab is sound, clean, and draining correctly, the layout and bonding method can be planned with far less guesswork.
Install Expansion Joints and Weatherproof Grout
Concrete and tile expand and contract as temperatures and moisture levels change. Expansion joints accommodate this movement and help prevent pressure from building until tiles crack, lift, or lose their bond. Carry existing slab joints through the tile finish, and provide additional movement joints where required by the installation standard, product instructions, or the shape and exposure of the area.
Keep rain, frost, and heavy use away from the new installation during curing. Covering can protect the work from precipitation, but the covering should not trap condensation against the surface or interfere with the curing conditions required by the mortar and grout. A well-planned joint system, combined with appropriate grout, limits water entry while allowing the assembly to move naturally.
Protect the Finished Surface from Freeze-Thaw Damage
Effective freeze-thaw protection is a year-round outcome of the choices made during installation. Low-absorption tiles, strong mortar coverage, sound waterproofing where needed, and open drainage paths reduce the chance that water will remain trapped beneath the surface. When water cannot pool or penetrate easily, freezing has less opportunity to create pressure that damages the tile assembly.
Inspect the patio periodically, particularly after winter. Look for cracked grout, failed sealant at movement joints, loose tiles, blocked drains, or areas where water stands. Clear leaves and organic debris before they hold moisture against the floor. Use a cleaner recommended for the tile; acidic products can damage some natural stones, and aggressive washing may erode grout or loosen a weak installation.
Address small defects promptly instead of waiting for the next freeze. Replace failed sealant, repair grout where appropriate, and investigate any tile that sounds hollow or moves underfoot. A persistent leak or recurring debonding may indicate a deeper moisture or substrate problem, not merely a cosmetic flaw. A qualified tile professional can assess complex slabs, uncertain moisture conditions, or extensive damage and recommend a system suited to the site.


