
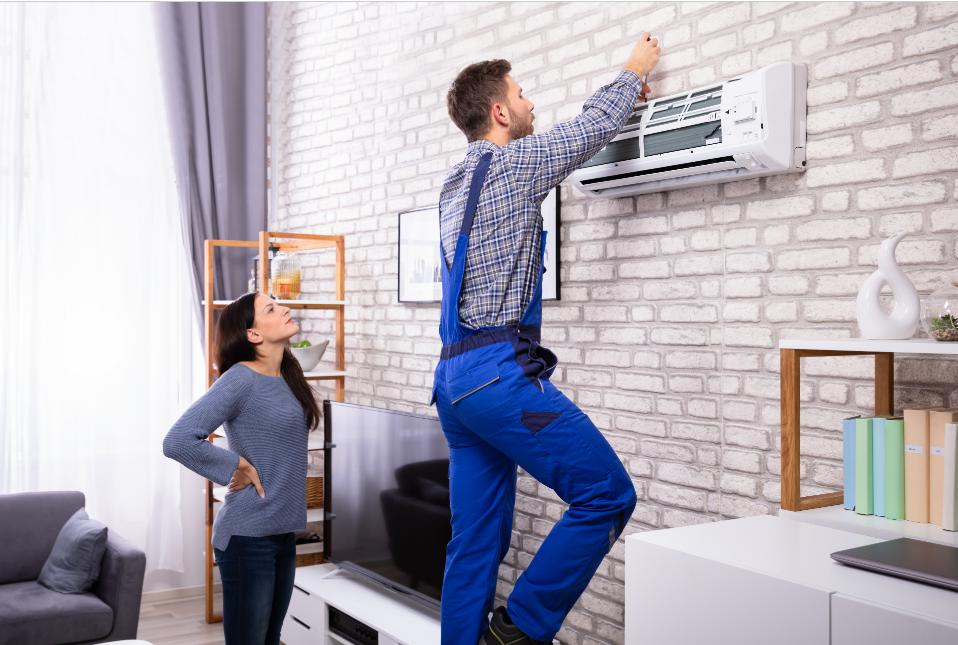
Replacing a fan coil unit may seem daunting, but breaking down the process into manageable steps makes it straightforward. Whether upgrading an aging system or installing a more efficient model, following these five key stages ensures a smooth and effective replacement.
Step 1: Prepare the Site and Gather Materials
Begin by turning off the power supply and shutting off the water flow to the existing unit. Safety is paramount. Next, clear the space around the unit, ensuring unobstructed access for removal and installation activities. Prepare the necessary tools, including wrenches, screwdrivers, pipe cutters, and collect replacement components such as new piping, mounting brackets, and the fan coil unit itself. Organizing everything beforehand saves time and reduces potential hiccups during the job.
Step 2: Remove the Old Fan Coil Unit
Carefully disconnect the electrical wiring and water pipes connected to the current unit. This step requires precision to avoid damaging surrounding infrastructure. Once detached, loosen the mounting brackets and gently remove the unit. Be cautious of residual water in the pipes; use drainage measures if necessary. Proper disposal or recycling of the old equipment should comply with local regulations, prioritizing environmental responsibility.
Connecting the New Fan Coil Unit
After preparing the area and removing the old system, the focus shifts to installing the replacement. Proper connections are critical for operational success and energy efficiency.
Step 3: Mount the Replacement Unit Securely
Begin by positioning the new fan coil unit in its designated location, ensuring enough clearance for maintenance and air circulation. Securely attach the mounting brackets to the wall or ceiling, checking for level alignment. This creates a stable foundation that prevents vibrations and reduces noise during operation.
Step 4: Connect Plumbing and Drainage Systems
Connect the hot and chilled water pipes to the unit’s inlet and outlet ports, applying appropriate sealants like Teflon tape to avoid leaks. Insulate chilled water pipes to prevent condensation and energy loss. Install the condensate drain hose with a slight downward angle to facilitate water flow and avoid blockages. Proper plumbing connections are essential for maintaining system integrity and avoiding costly repairs.
Step 5: Rewire and Test the Electrical Setup
Reconnect the electrical wiring following manufacturer guidelines, ensuring exact terminal matches for power and thermostat connections. Use a multimeter to verify voltage and confirm all connections are secure. After re-energizing the system, run the unit to test airflow, temperature control, and fan speeds. Listen carefully for unusual noises indicating possible loose components. A thorough test run guarantees optimal performance and comfort.
Maintenance and Tips for Longevity
Following installation, sustaining your fan coil unit’s efficiency requires ongoing care. Regular filter cleaning every few months prevents air quality degradation and system strain. Inspect pipes periodically for leaks or insulation damage. Proper thermostat placement away from heat sources ensures accurate temperature regulation, enhancing comfort and avoiding unnecessary energy consumption. Creating a maintenance schedule extends the equipment’s lifespan and reduces unexpected repair costs.
| Step | Action | Key Considerations |
|---|---|---|
| 1 | Prepare Site & Gather Materials | Safety first; organize tools and components |
| 2 | Remove Old Unit | Disconnect piping & wiring carefully; dispose responsibly |
| 3 | Mount New Fan Coil | Ensure level installation; maintain clearance |
| 4 | Connect Pipes & Drain Hose | Seal joints; insulate; proper drainage slope |
| 5 | Rewire & Test | Secure wiring; use multimeter; verify operation |
Replacing your fan coil unit doesn’t have to be a complicated ordeal. By adhering to these clear, methodical steps, you secure a system that delivers reliable climate control and energy savings. Don’t hesitate to reach out to a dedicated HVAC professional, like Indoor Air Maintenance and Service, for assistance or to ensure your replacement is executed flawlessly and safely. Their team can provide expert guidance on selecting the ideal unit for your home and handle the entire installation with precision. This guarantees optimal performance and protects your manufacturer’s warranty.


