
How to Keep Your Brushes and the Remaining Paint in Pot
Summary
– Step 1: Dry a brush well to guarantee its longevity
– Step 2: Cleaning a brush in green mode
– Step 3: For a brush that sheds its hair
– Step 4: Carefully close the pots
– Step 5: Put away the opened pots
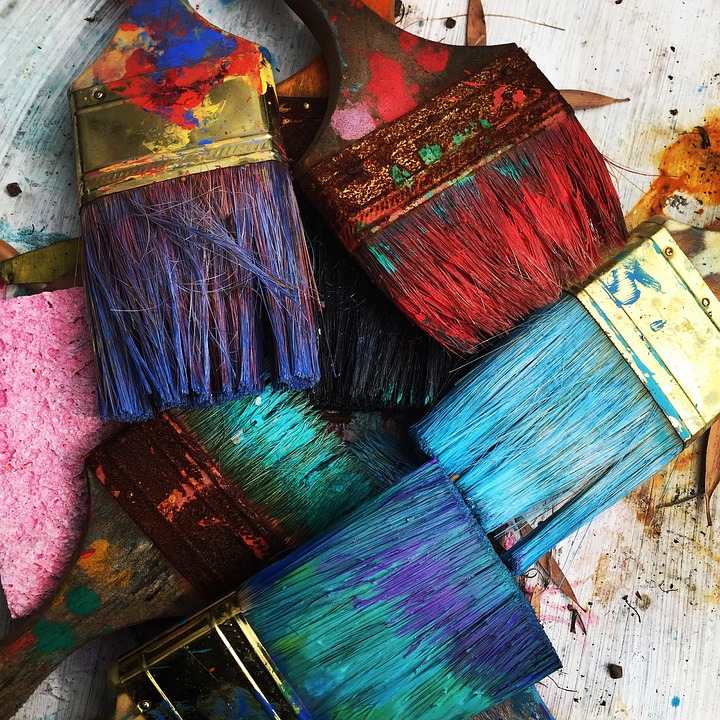
It can be tricky to keep your brushes in good condition: soft, clean, and above all, without losing too much hair!
Luckily, a few simple tips in this post will help you do this trick.
1. Dry a brush well: a guarantee of its longevity
Once you have finished painting, you tend to let the brushes dry in the open air—nothing worse for them and their life expectancy.
Storing brushes for reuse
What damages the brushes are the washes. So if you have to reuse them, it’s better to store them.
Keeping them in water is tricky: you will have to change the water to avoid the rotten smell.
The trick?
– Wrap your brushes (and rollers, that works too) in a plastic bag tightly closed with an elastic band.
– If kept away from the air, the paint will not dry.
– If the colours on the brushes are different, you will need a plastic pouch for each brush to avoid mixing.
Good to know: this tip also works with glycerol paint.
Catching up with already dry brushes
Your brushes are already dry and hard? Don’t worry, and above all, no garbage!
– To get them back, all you have to do is boil some clear vinegar and soak the brushes in it.
– Once the bristles have relaxed, a soapy water rinse will put them back in place.
2. Cleaning a brush in eco mode
Advantages of green cleaners
Brushes are most often cleaned with White Spirit. Today there are many environmentally friendly alternatives to this solvent, which is not very ecologically friendly and, above all, difficult to eliminate once used. Their advantages:
– as easy to use as White Spirit;
– no residual film and no fumes;
– aqueous and biodegradable, you can safely dispose of them in the sink.
Natural cleaners for your brushes
An example of an eco-friendly cleaner that has proven its worth is Marseille soap.
Proceed as follows:
– Wet the soap and brushes;
– Rub the brushes on the soap brick, which will dissolve the grease from the paint;
– once coated, rub them in the palm of your hand before rinsing and wiping to see only the hair’s colour.
Note: you can proceed in the same way with black soap.
3. For a brush that sheds its hair
Your brushes are brand new, you put the price on it, and you don’t want them to get damaged quickly, and above all, you don’t want them to keep all their bristles?
– After purchase and before using them for the first time, soak them for 24 hours in a bucket of lukewarm water: this will limit hair loss.
– Be careful not to use boiling water: it will melt the glue that holds the hairs together.
– To keep a brush made of natural bristles and allow them to keep their suppleness, do the same with linseed oil.
Tip: when the bristles are made of silk, mothballs in your drawer will prevent you from finding a completely bald brush.
When you want to use a paint that has already been used, it is not uncommon for a film to have formed on the paint’s surface in the jar. This is due to the air inside the jar, which has dried the paint.
This is due to the air inside the can, which has dried out the paint. A can of paint that has been opened loses its tightness, and the circulating air causes the solvent in the paint to evaporate. It is this oxidation that creates a pasty film on the surface of the can.
Besides, the paint, which is poorly preserved, deteriorates and deteriorates. The pot must be sealed again to keep the paint well.
Here are our tips for preserving paint perfectly in a pot that has already been opened.
Warning: all paint has an expiration date. Remember to check this before purchase.
5. Carefully close the jars
To preserve your opened paint cans, it is essential to close them tightly to restore their water tightness. To do so, here is a simple tip:
– Start by cleaning the edges of the jar and the lid with Marseille soap.
– Before putting the lid on, insert a plastic film to keep the jar clean and watertight and wrap the lid with adhesive tape.
– Once the lid is in place (and before the tape if you choose this solution), tap lightly along the edges with a hammer to lock the lid in place.
– Finally, to restore the seal, turn the paint pot upside down. This way, air will not be able to circulate, and if a small layer has to form, it will be at the bottom of the can.
There are sometimes subtleties depending on the type of paint:
– For oil and alkyd paints: it is advisable to proceed in the same way but with a wax paper sheet in between.
– For glycero paints: it is recommended to pour a cap of white spirit type thinner into the jar.
Good to know: the larger the jar is to the rest of the paint, the greater the risk of the paint oxidizing inside. If there is only a little bit of paint left, pour it in a smaller jar to better preserve it (or a jar of jam, but it will have to be protected from the light).
6. Put away the opened jars
Once your jars are clean and airtight, where do you store them?
– To ensure proper storage, choose a place that is not subject to temperature variations.
– For example, choose a shelf in the house at room temperature rather than an uninsulated garage closet exposed to extreme heat and winter frost.
Hope the above helps you out! Remember to share your experience in the comment section below.
3 thoughts on “How to Keep Your Brushes and the Remaining Paint in Pot”