
Turn Mason Jars Into Cute Home Décor
Did you know that mason jars can be beautifully and effortlessly combined into your home décor? If you are good at DIY stuff and if you’ve got some unused mason jars, here are some ideas of how a simple little jar can make a huge impact on your house décor.
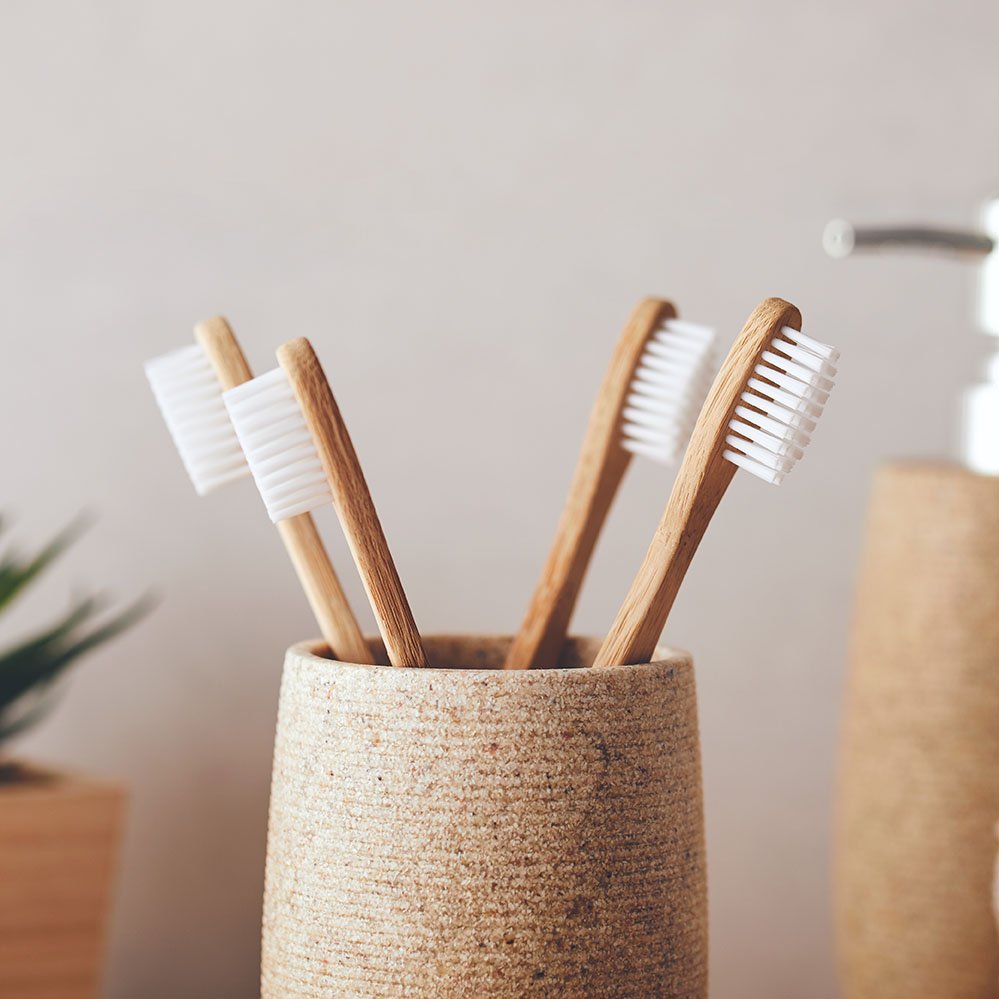
Mason Jar Toothbrush Holder
Materials you’ll need:
- Quart jars with a wide mouth
- Darice Chicken Net with Wire Accent
- Wire cutters or multipurpose scissors
Instructions to make the Mason jar toothbrush holder:
Step 1: Cut the chicken wire to the same size as the round lid portion of the two-piece jar cap using your preferred method. You can use a strong pair of scissors or these multipurpose scissors that work flawlessly.
Step 2: Attach the chicken wire to the lid’s band and screw it onto your mason jar.
Step 3: Add your toothbrushes and you’re ready to install them in your bathroom. Don’t you think it’s much better than a regular toothbrush holder?
Additional Note: The same thing can be done with a pint jar. Because I don’t like it when the toothbrushes touch, the quart jar works well in our house. What are your thoughts? Is a mason jar toothbrush holder appropriate for you?
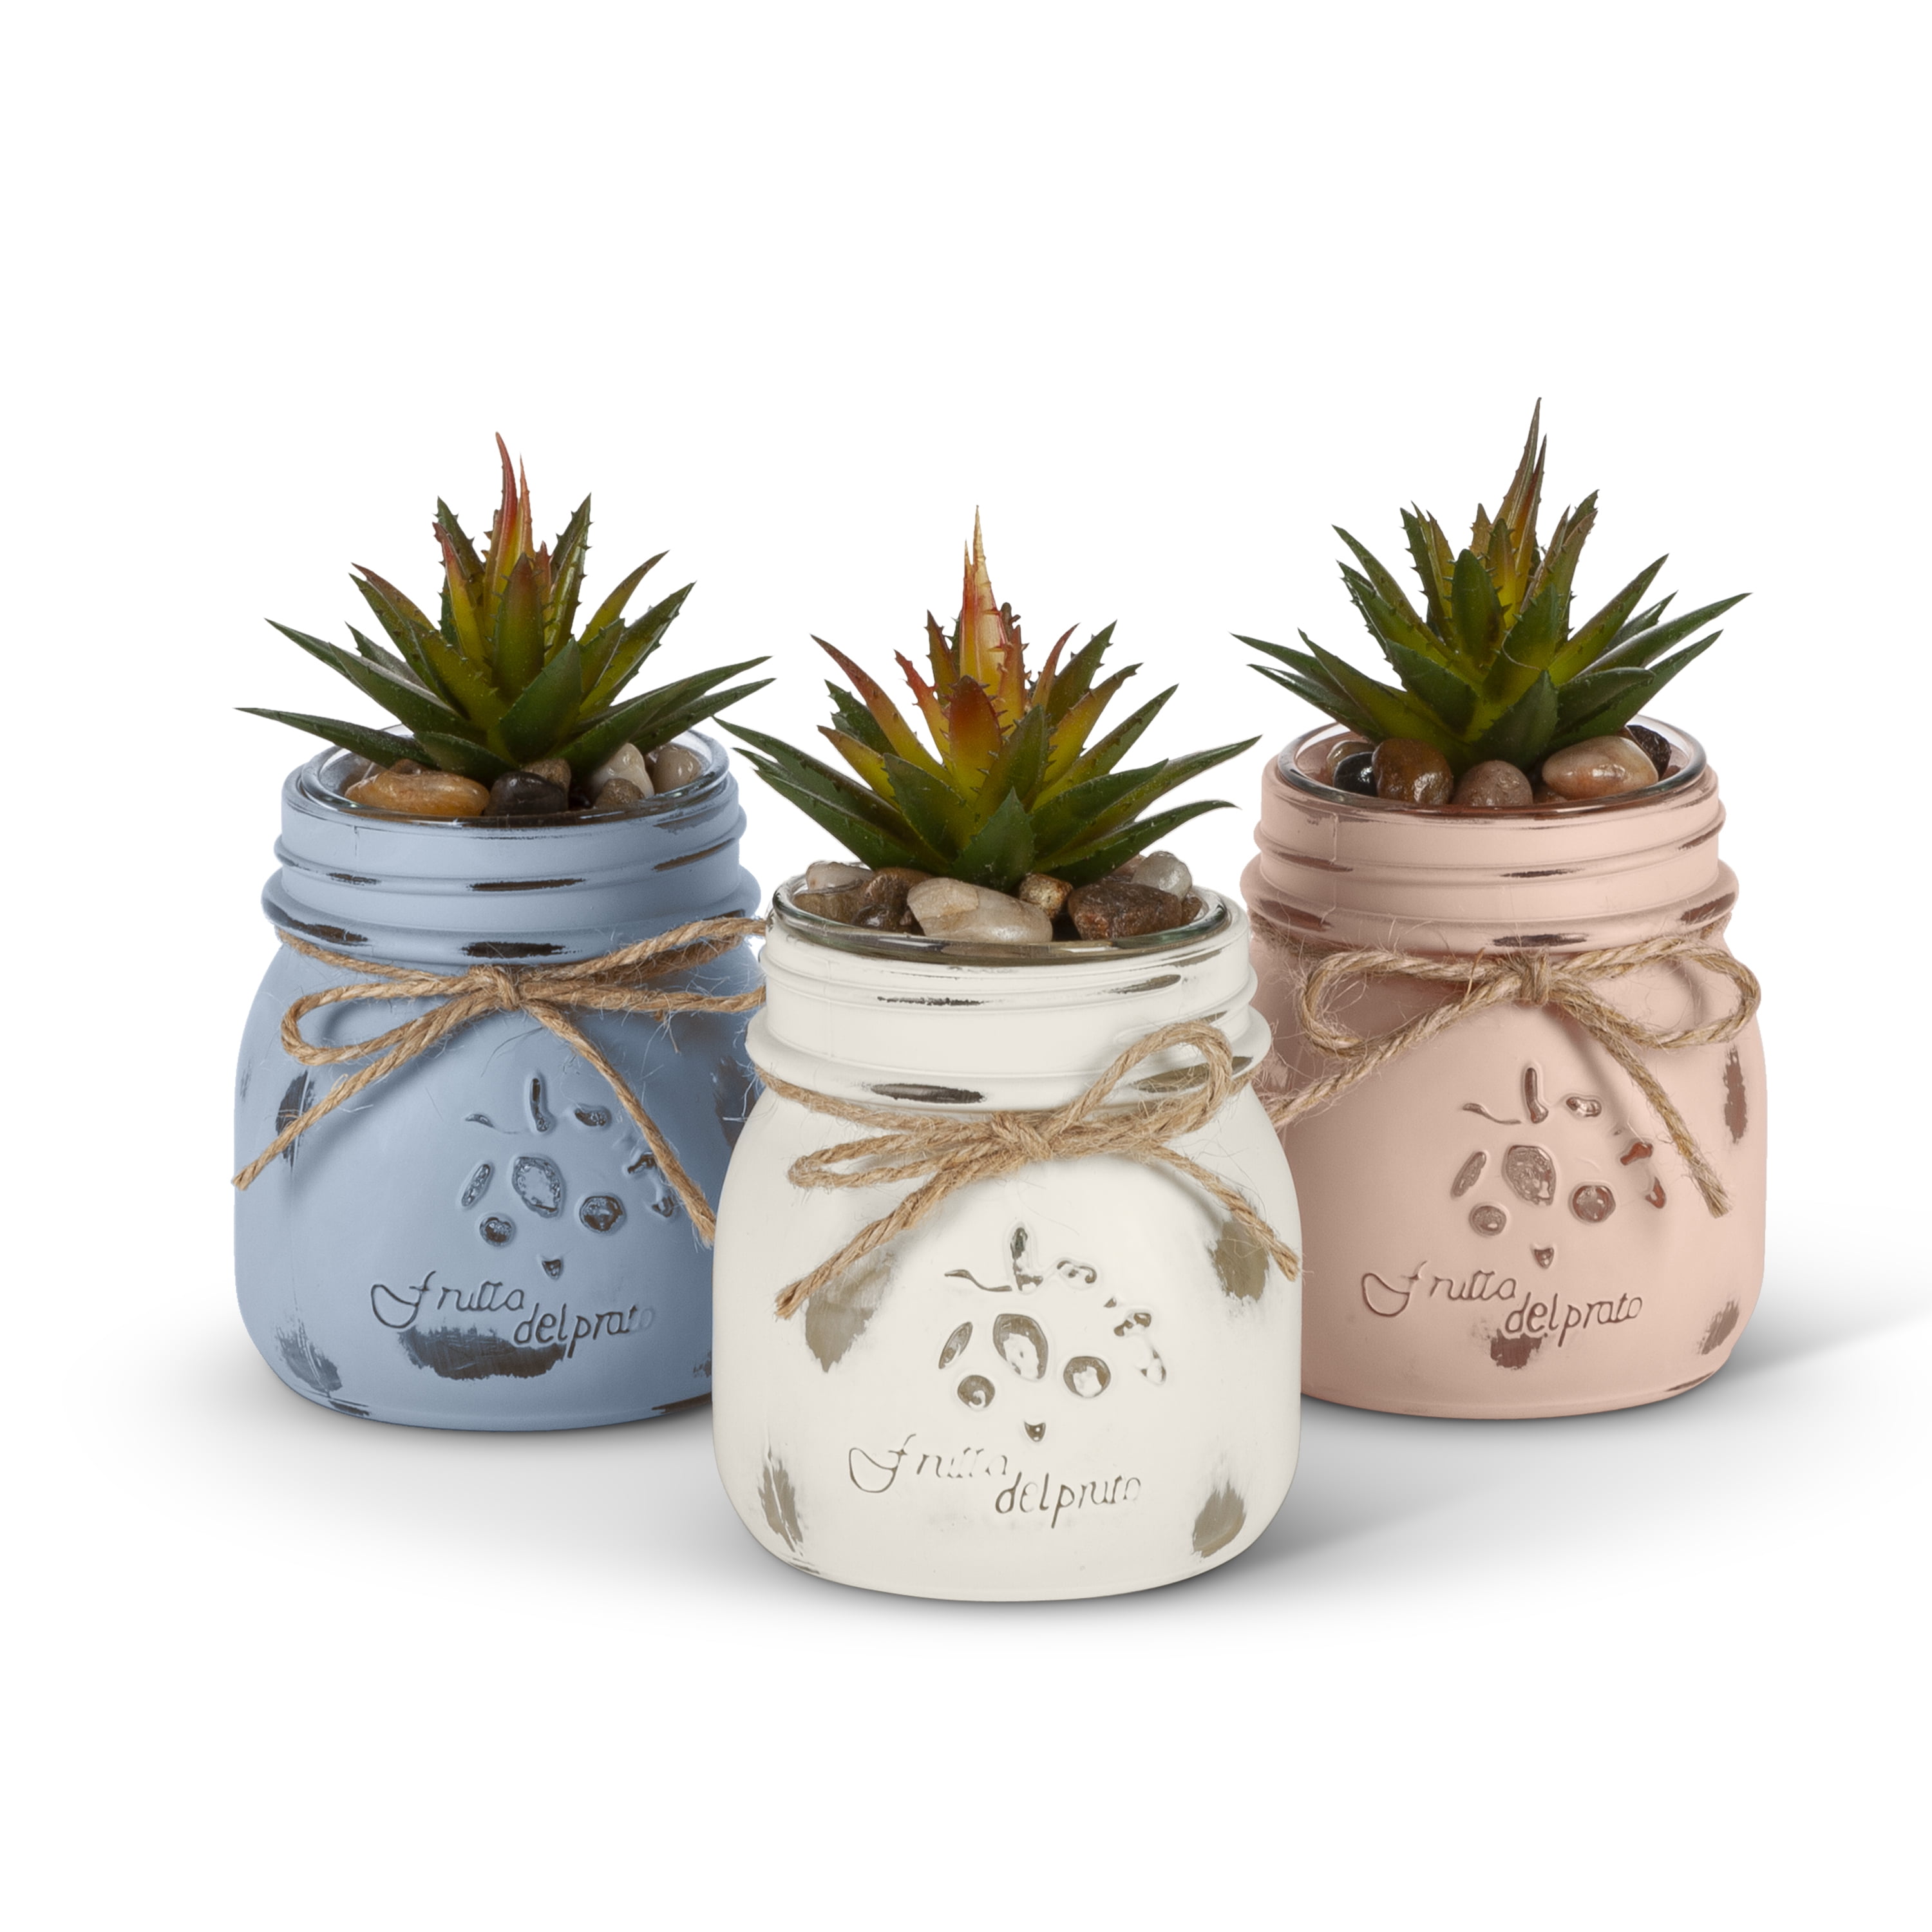
Chalk Paint Mason Jar Planters
Instructions to make the Mason jar toothbrush holder:
Step 1: Allow the DecoArt Chalky Finish paint to dry completely between coats before painting the jars. When completely dry, sand gently to remove some of the paint. Cover the bottom of the jar with Elizabeth Craft Designs adhesive tape and ECD Antique Silver Microfine Glitter.
Step 2: Adhere vintage French book pages to white cardstock to make the bird. Eileen Hull’s bird die can be used to cut two birds, but remember to reverse the layer of the second bird (cutting it with the non-text side down) to create a mirror image. Sandwich a skewer between the bird die cuts and adhere them together. Allow them to dry.
Step 3: To complete the small jar planter, add potting soil and a sprig of sedum. Then, wrap a piece of twine (also available at The Dollar Tree!) around the skewer and insert it into the jar. Done!
Painted Mason Jar Welcome Sign
Materials you’ll need:
- 2 Mason Jars
- Wood lath is made of thin pieces of wood. These are available at home improvement stores such as Menards or Lowe’s.
- Two pipe clamps.
- Washers and screws
- Drill
- You can use brown acrylic paint thinned with water to paint/stain.
- DecoArt Americana Chalk Paint – Vintage
- Fresh or silk flowers of your choice
- Scrapbook paper with patterns
- Brushes made of foam (for the wood and the jars)
- Mod Podgeing
- Cameo Silhouette
- S hooks on both sides
Instructions to make the Painted Mason Jar Welcome Sign:
Step 1: For the Best Portion: Make 6 12″ long pieces of lath. Place 6 of them side by side and glue them together with two pieces on the back. For the portion at the bottom; the bottom of the sign can be made with the same type of lath.
Step 2: Cut eight 4-inch pieces of lath. These pieces are also glued together by laying them side by side with a piece on the back. To add interest to the sign, they are turned vertically rather than horizontally.
Step 3: Paint or stain the wood pieces once the glue has dried. As a stain, I used thinned-down brown paint. Brown paint is something I always have on hand, so it’s cheap and simple to make. When the stain has dried, drill holes in the top and bottom pieces to accommodate the S hooks.
Step 4: You can use the Silhouette Cameo Cutting machine and patterned scrapbook paper for this step. Using the Silhouette software, make sure the text is the correct size, and then use patterned paper that matches the colors in my home decor and the paint on the jars. Trust me, it will come out really well. You can use Mod Podge to adhere it to the wood once it’s been cut and ready to go.
Step 5: You can now use Americana DecoArt Chalky finish in Vintage. Apply a coat of paint to the outside of the mason jar with a foam brush. A couple of coats will be required to achieve a well-covered finish. Allow each coat to dry before applying the next. After your final coat has dried completely, use a sanding block to distress the raised areas of the jar.