
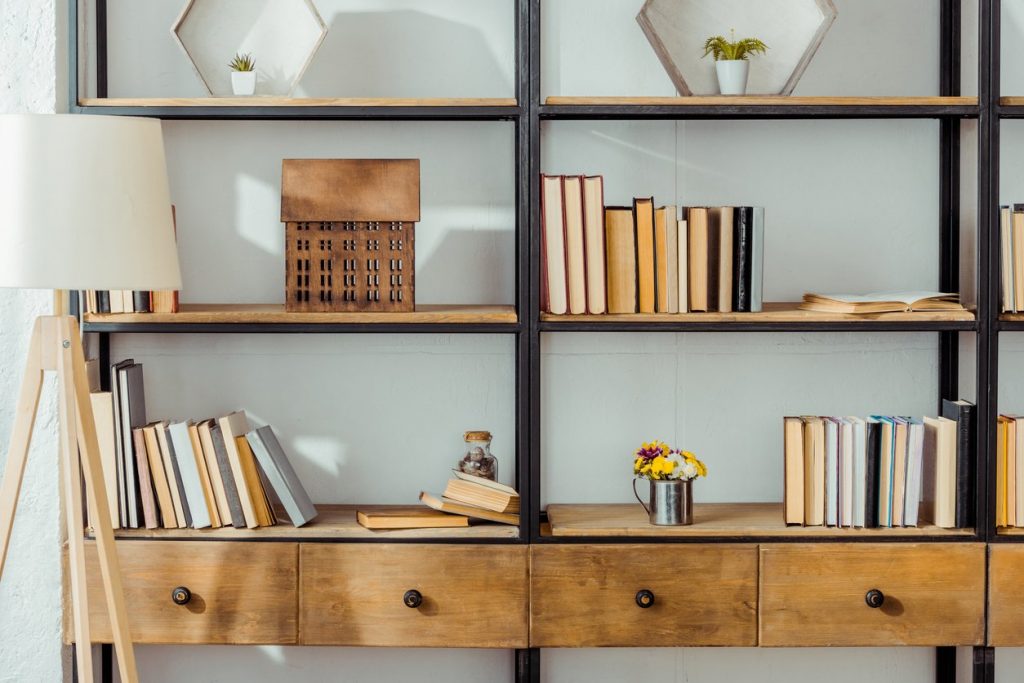
DIY Bookshelf: How To Build A Simple Bookshelf
I’m a bookworm baby and I’m proud of it!
When you wake up with Nora Roberts, eat with Laura Esquivel, spend the day with Dan Brown and go to sleep with Stephen King (not literally omg!) – you’d most likely create a home for your novels rather than adding some conventional aesthetics to your home.
This article includes step-by-step instructions to help you build a bookshelf that can meet your storage needs.
The Design and Preparation Phase

Create And Measure
You may design a bookshelf to fit a specific place in your house, or you can make one that is a convenient size that will operate in a number of settings.
Select Your Wood
The type of wood you pick will have a significant influence on the completed aesthetic of your work, as well as it’s cost and longevity. Because genuine wood might be expensive, you’ll most likely want to utilize plywood with a hardwood veneer.
Little Tip: Choose 3/4″ plywood for the bookshelf’s body and shelves, and 1/4″ plywood for the rear.
The Cutting Phase
Select The Appropriate Saw
Cut your boards with a table saw or a circular saw. Because cutting plywood may be difficult and hazardous, it’s critical to plan ahead of time.
Sides Should Be Cut
Begin by cutting your long boards to the desired width. Remember that normal widths are 12″ or 16″; our depth for this project will be 12″. To guarantee a clean cut, feed the wood through the saw at a steady rate.
Then, cut the bottom and shelves of your bookcase. Remember to account for the saw blade’s 1/8″ width in your dimensions.
Remove The Rabbet Joints
A rabbet is a groove that has been carved into a piece of wood. In this scenario, rabbet joints will allow the bookcase’s top to lay squarely and firmly on the two sides.
Time To Drill
Drill holes around the sides of the bookshelf for adjustable shelving. Because book sizes vary and your needs may alter, it’s better to make your shelves adaptable so you may arrange and rearrange them as needed.
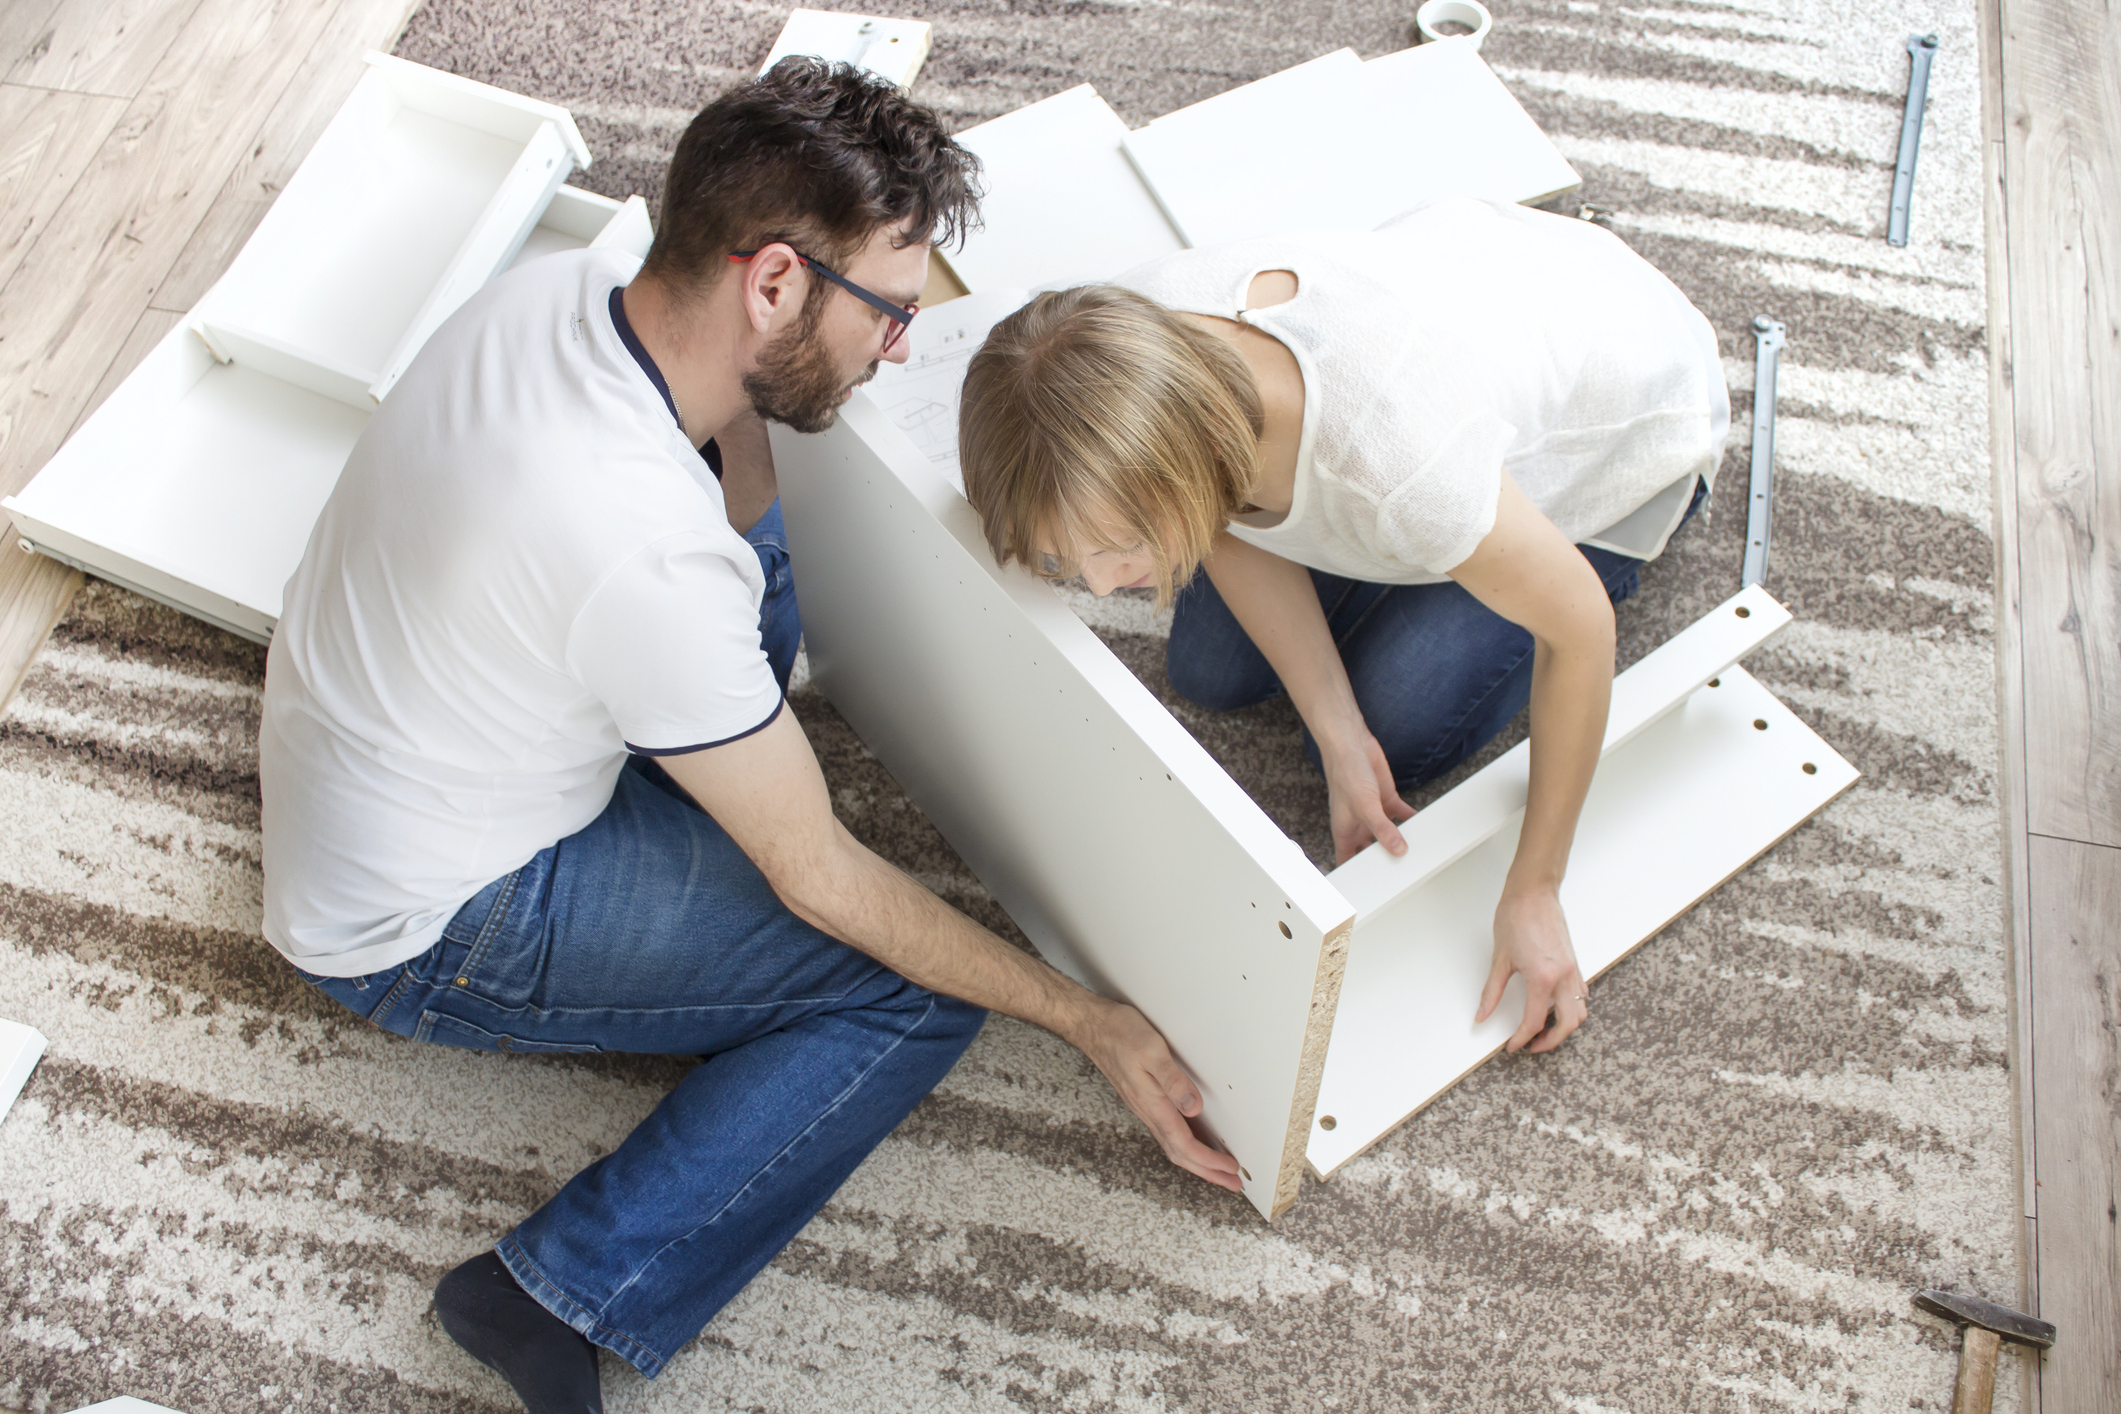
Integration Phase
Connect The Top To The Sides
Position the top in place and apply glue along the length of the rabbet groove. To fasten the top, use pocket screws.
Include Support Blocks
You may use support blocks for the middle and bottom shelves if you want to strengthen the frame without adding too much bulk. If you do add these blocks, keep in mind that your central shelf will be fixed and unadjustable.
Install The Middle And Bottom Shelves
Attach the bottom shelf after the top of the bookshelf is secure.
Place The Rear Panel In Place
A back panel completes the aesthetic of a bookcase while also protecting the paint on the wall behind the bookshelf.
Put On The Trim
Trim or molding will give your bookcase a more personalized appearance. If you’ve sized it to fit a specific nook in your home, adding trim might give it the appearance of a built-in item.
The Ending Phase
The Bookshelf Should Be Sanded
Sanding is critical to the final look of any completed surface and impacts the staining process’s success. If the surface isn’t well-sanded, the stain will seem black and blotchy.
The Unit Should Be Painted Or Sealed
The next step is to apply a protective coating to your new bookshelf, which might be paint or a clear finish.
First: Prime And Paint The Surface
Primer aids in the even absorption of paint by the wood, resulting in a more uniform finish. Allow a coat of primer to dry before proceeding. Lightly sand the item and dust it with cheesecloth or a soft cotton rag. Put on a coat of paint. After the first coat has dried, sand, dust, and apply the final coat.
Second: Finish With A Clear Coat
If you’ve chosen a more exotic wood for your bookshelf, a clear polyurethane finish will bring out the inherent beauty of the grain. Allow the first layer to dry before sanding with a fine grit sandpaper. Apply a second layer after removing the dust using cheesecloth or a soft cotton rag. Allow it to dry again before sanding with a fine grit sandpaper. Finish with a third and final coat of the finish.
1 thought on “DIY Bookshelf: How To Build A Simple Bookshelf”