
DIY Glass Window Pane Replacement Guide
It’s not often that your neighbor’s baseball or one of your children’s flying planes smashes through your glass windows. However, if this occurs, you should be prepared to replace it yourself rather than paying a professional.
Get Rid Of The Previous Pane
Safety Pecautions:
To avoid smearing, place a drop cloth or sheet beneath the glass. To be cautious, cover the other side of the glass with a drop cloth as well. Window pane repair may be a dirty process, with dust, putty, and glass flying everywhere. Before you begin working, lay down a drop cloth to catch all of the debris and protect your flooring.
Before you begin, put on sturdy gloves and eye protection. When working with glass, you run the danger of shattering a piece and injuring yourself. Protect your hands with thick gloves and your eyes with goggles or a face shield. In addition, if you’re wearing goggles, make sure they reach all the way around your face to protect your eyes from all sides.
Start The Work:
Step 1: Using a sharp putty knife, remove the glazing that surrounds the pane. Window panes are held in place by a putty called glazing, which must be removed before the pane may be removed. Make use of a putty knife, ideally a sharp one. At any stage, run the putty knife down the line that separates the glaze from the wood. The glazing should then be broken off by pressing against the window. Working your way around the glass, remove all of the glazings that are holding it in place.
Step 2: Scrape away any remaining glazing or glue from the edge of the pane. Even if you tear off all of the large pieces of glazing, some may remain. Scrape your knife along the border of the window to remove any remains that are holding the glass together.
Step 3: Make an X using duct tape on both sides of the window. To get it all out, you’ll have to smash the pane. To prevent glass from flying around, tape off the window first. To hold the glass together when it fractures, form an X using duct tape on either side of the window.
Step 4: Break the window using a hammer or similar tool. Tap the window with a hammer or screwdriver handle until it splits. Tap in a few different spots to completely shatter the window.
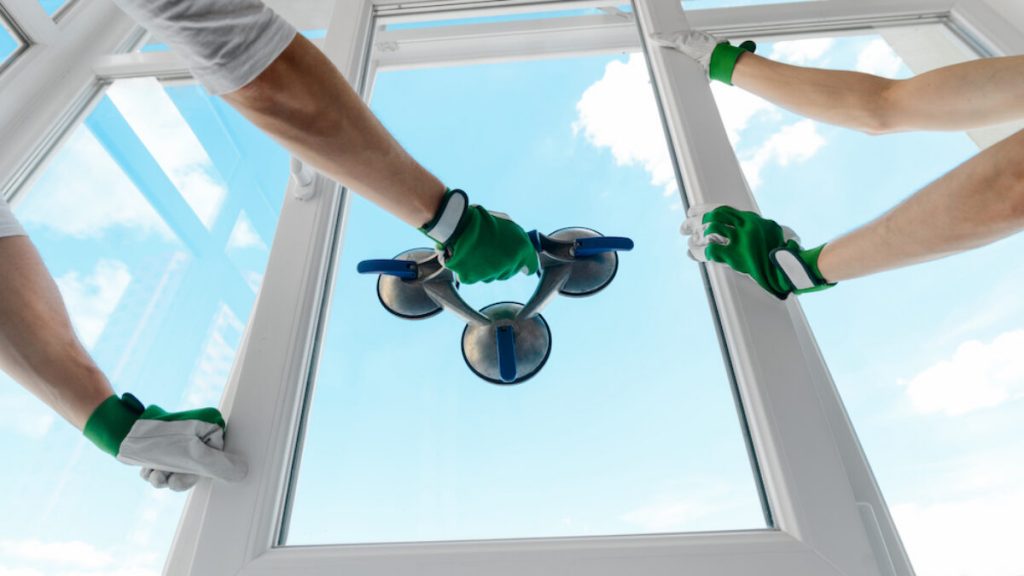
Step 5: Remove the old pane of glass to remove all of the glass. When a window pane cracks, it should easily fall off. Grab it anywhere you can get a hold of it and pull it out. Before going any farther, examine the sash for any leftover glass and pluck or scrape it out.
Step 6: Sand the border of the sash. With coarse sandpaper, sand the whole rabbet, or the groove where the window sits. Everything should be smoothed all the way down to the bare wood.
Set Up The New Glass
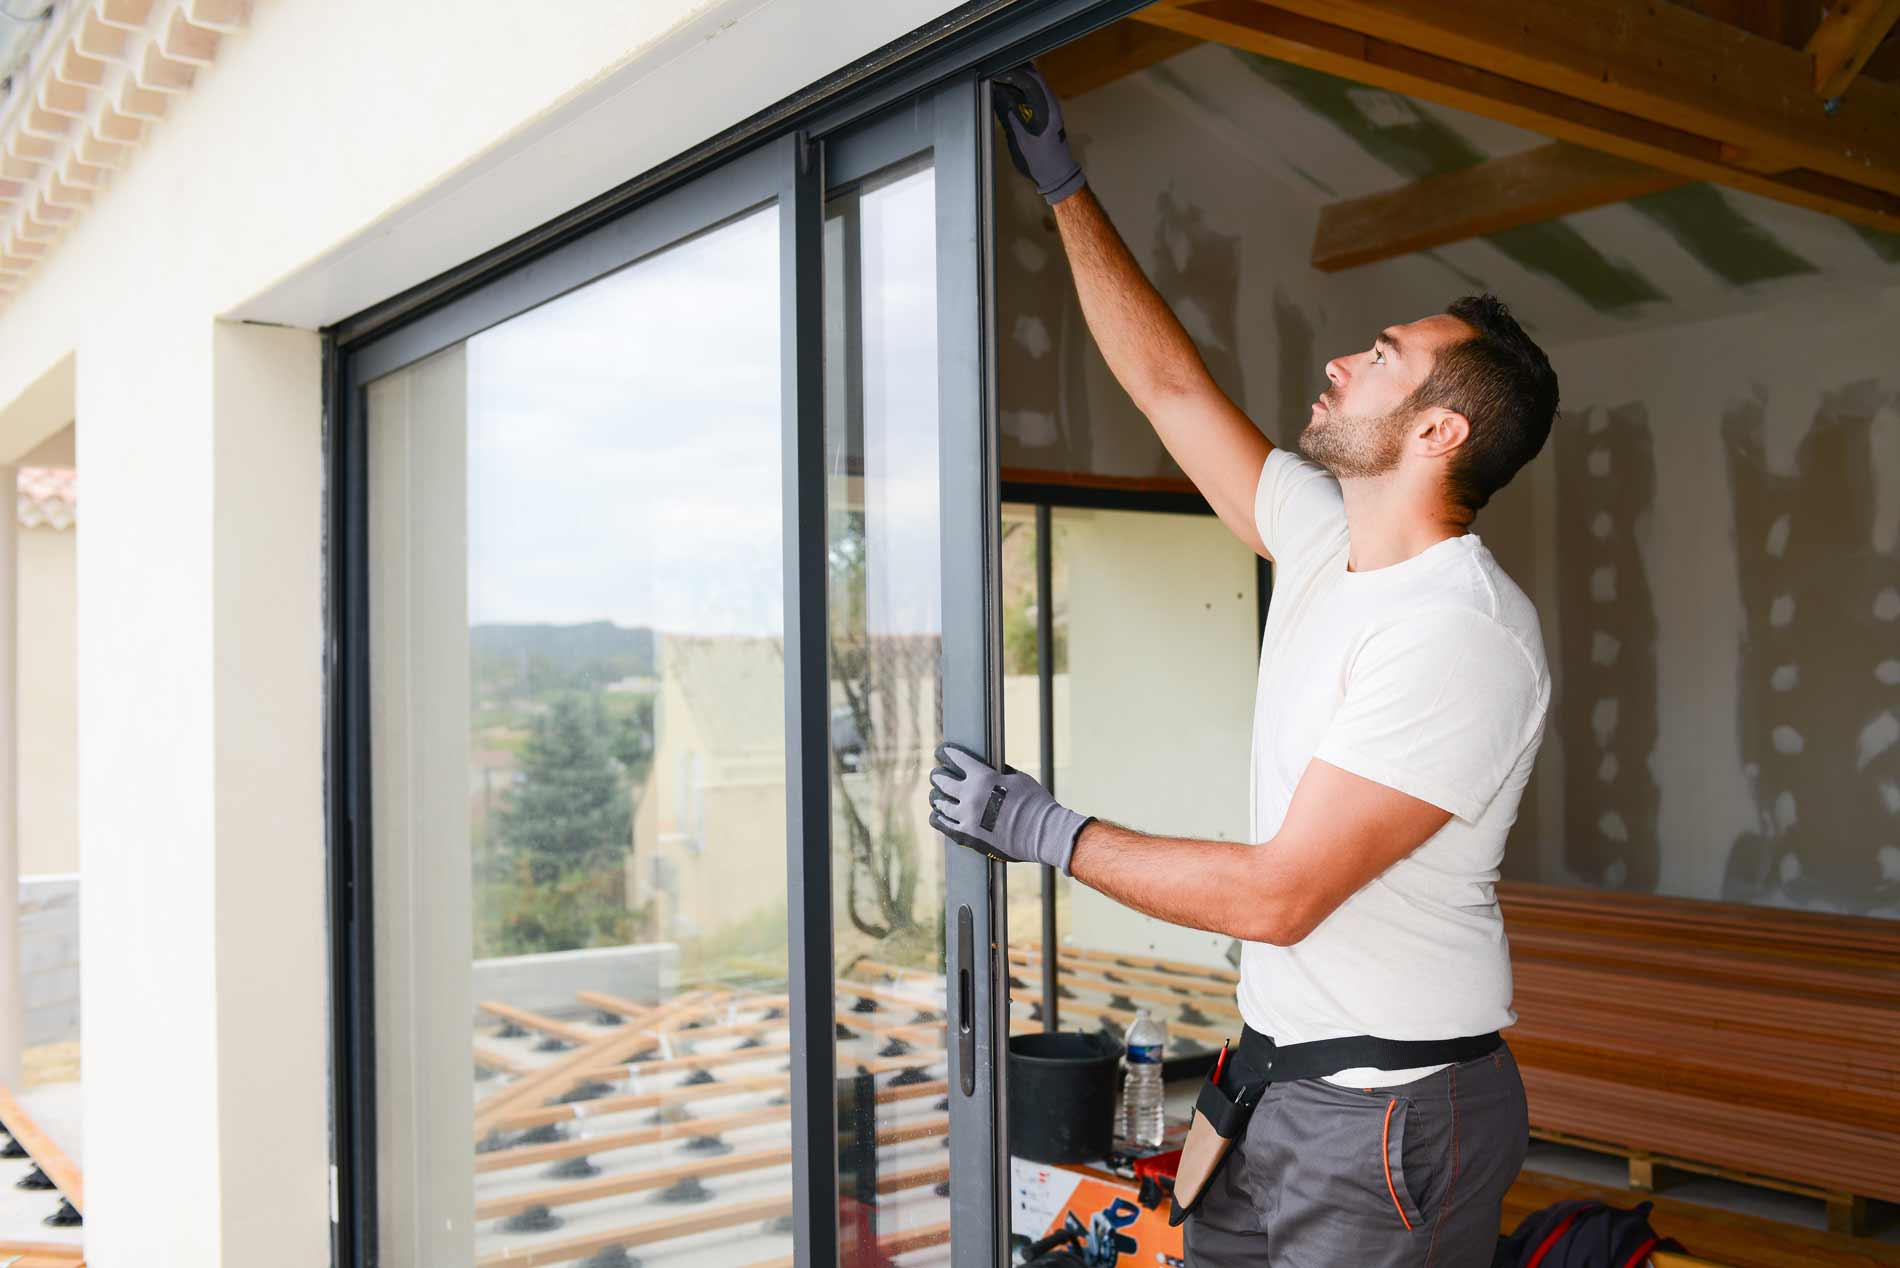
Step 1: Get a replacement glass pane that’s the same size as the old one. Any hardware store will have replacement glass panes. Take measurements of the gap’s length and height, and then use those measurements to choose a new pane that will fit into the sash.
Step 2: Run a bead of caulk around the sash’s edge. Point your caulk gun at the notch in the sash. Apply a bead of caulking to each of the sash’s four edges. This is required for the glass to be cushioned and the window to be weather-sealed.
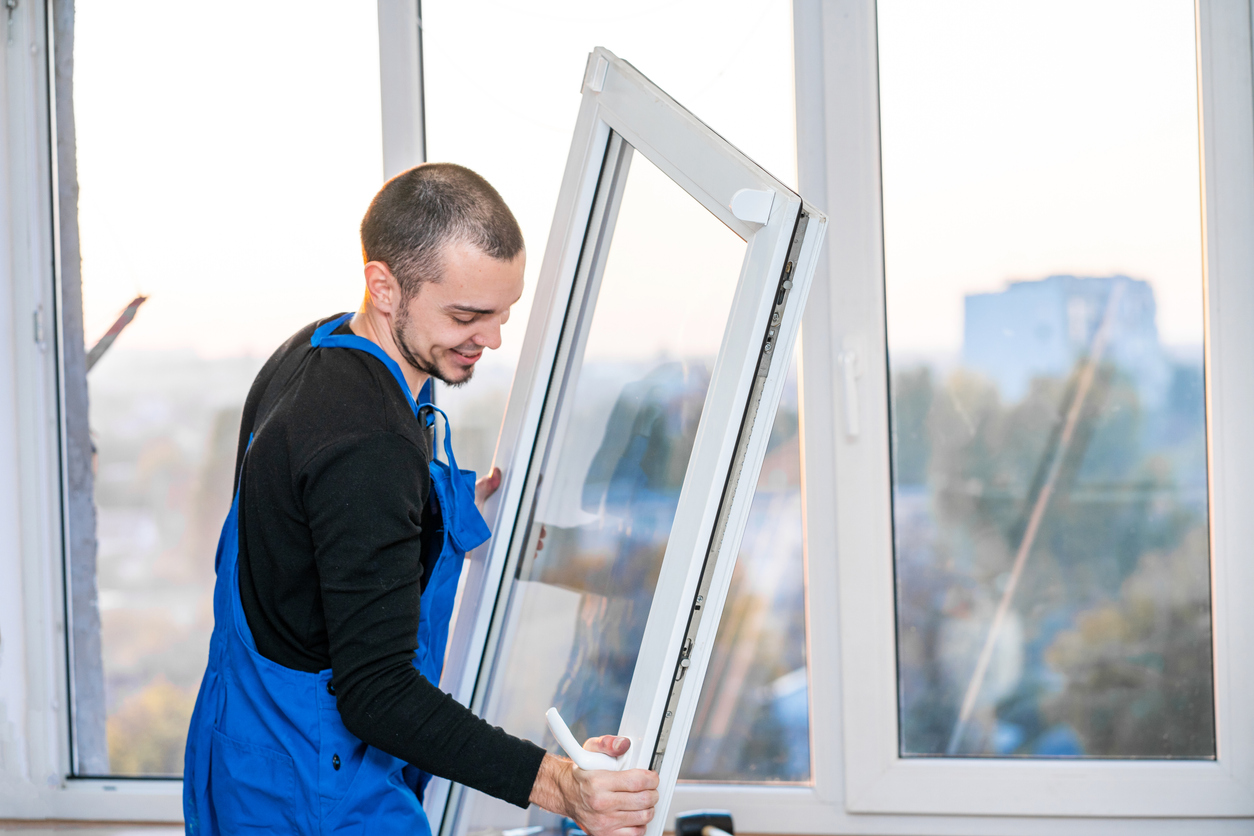
Step 3: Mix in the new pane with the caulk. Align the new pane with the sash and secure it in place. Insert it from the bottom into the sash up until the pane is completely in position. Gently push the glass down to ensure that it adheres to the caulk.
Step 4: Insert a glazer’s point in the center of each side to secure the glass. A glazer’s point is a tiny metal tab that assists in glass retention. Each has a pointed and a toothed end. Arrange them so that the sharp side is towards the wood. Then, using your putty knife, drive it into the wood in the center of the glass. Put one on either side of the glass.
Step 5: Glue a strip to each side of the pane. Press the putty firmly down the window’s side and into the wood to form a tight seal. To hold the window in place, repeat this process on all four corners.
Step 6: Smooth out the putty with your knife. Begin at one of the corners of the window pane. Tilt your putty knife so that it forms a 45-degree angle with the glass and makes contact with the wood on the window sash. Then, using your finger, push the blade down and slide it along the putty strip to smooth it out. Any excess putty that has dropped off should be removed—rep on the other four sides of the window.
4 thoughts on “DIY Glass Window Pane Replacement Guide”