Achieving perfect drywall joints may seem daunting to the average DIY enthusiast. However, with the right techniques and tools, you can transform your drywall projects into professionally finished surfaces. This guide will walk you through effective mudding techniques that ensure seamless transitions between panels and provide that flawless look we all strive for.
The Importance of Smooth Drywall Joints
Drywall joints enhance the aesthetic appeal of a room and contribute to the durability and longevity of the surface. Furthermore, flawless joints can make a significant difference in how light interacts with walls, preventing unsightly shadows and imperfections.
Preparing the Surface for Mudding
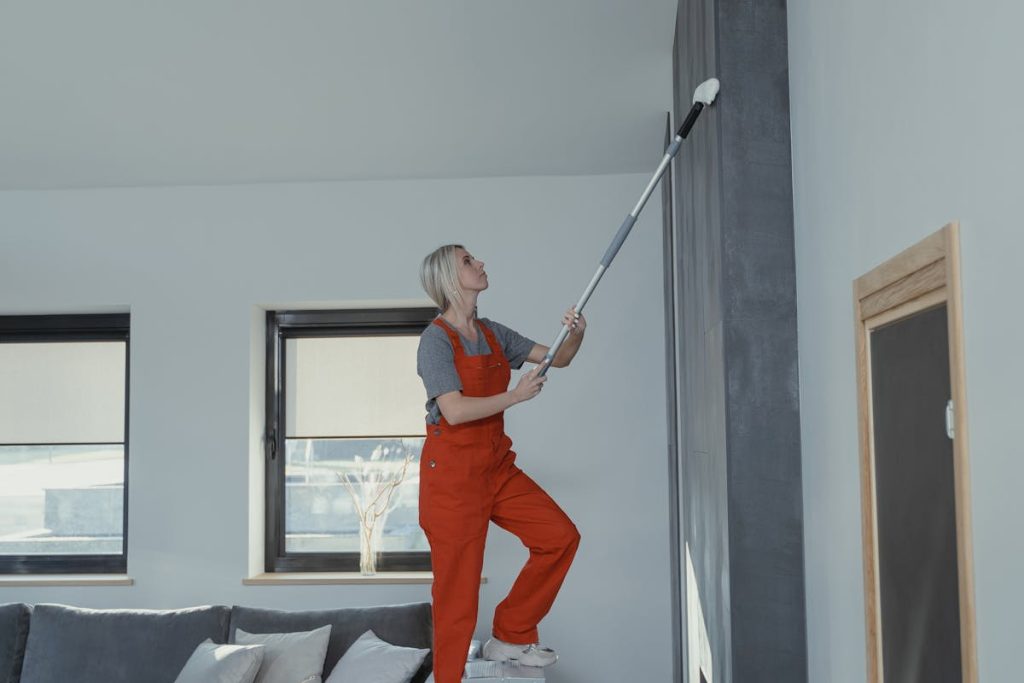
The first step in creating perfect drywall joints is surface preparation. A clean and dust-free environment is vital, as any debris can compromise the adhesion of the joint compound. Begin by wiping down all panels with a damp cloth, ensuring sheens and imperfections are eliminated. Once cleaned, inspect the seams and corners for any gaps or irregularities that may require additional filling before your first mud coat.
Choosing the Right Materials
Selecting suitable materials is a key factor in achieving a seamless finish. For mudding, you have two primary options: premixed joint compound and powdered drywall mud. While premixed is easier for beginners, powdered variants offer faster drying times and may reduce the occurrence of cracks. Always consider your project’s specific needs and your skill level when making your choice.
Mastering Mudding Techniques
Now that your surface is prepped, and you have your materials, it’s time to dive into mudding. The success of your project largely depends on the methods you choose, so let’s look at some professional techniques.
Layering for a Flawless Finish
Applying multiple thin layers of mud is a tried-and-true method for achieving a smooth finish. Instead of slapping on thick coats that can lead to uneven spots, start by applying a light layer, allowing it to dry completely before adding subsequent layers. This technique helps to gradually build up a level surface without bulking up joints unnecessarily.
Using Joint Tape Effectively
Incorporating joint tape is critical in preventing cracks along seams. There are two primary types: paper tape and mesh tape. While paper tape creates a nearly invisible seam and is preferred by professionals, self-adhesive mesh tape can provide quick and efficient results. Whichever you choose, ensure you bed the tape properly in wet mud to avoid bubbles and maintain integrity.
Final Touches: Sanding and Painting
Once you’ve completed the mudding and let it dry, it’s time to smooth out the surface before finishing. Proper sanding can make or break your drywall’s appearance. Use a pole sander or a power sander for large areas, and always wear a mask to protect against dust.
Application of Finishing Coats
With the sanding completed, apply a finishing coat of paint or primer. This step is essential as it enhances the overall appearance while providing protection to the drywall. Choose a paint that suits your style, whether it’s a soft matte or a vibrant gloss—each will offer a unique look to your space.
Common Mistakes to Avoid
Recognizing and avoiding common pitfalls can save you time and frustration. Here are a few mistakes to keep in mind:
- Applying too thick a coat of mud
- Neglecting to properly prepare surfaces
- Skipping sanding between coats
Knowing When to Call in Professionals
While many homeowners seek to undertake mudding tasks themselves, some projects may benefit from professional expertise. If you’re concerned about achieving the desired finish or lack the time necessary for a meticulous approach, consider hiring a specialist. Professionals possess the skills and tools to guarantee a polished result far greater than what most DIYers can achieve.
In conclusion, creating perfect drywall joints involves careful preparation, skillful application, and meticulous finishing. By using the right materials and techniques, even beginners can achieve results that look professional. If you find yourself overwhelmed by the mudding process or simply want to ensure the best outcome for your project, don’t hesitate to reach out for expert assistance. Contact local specialists today to elevate your home decor with impeccably finished walls!