
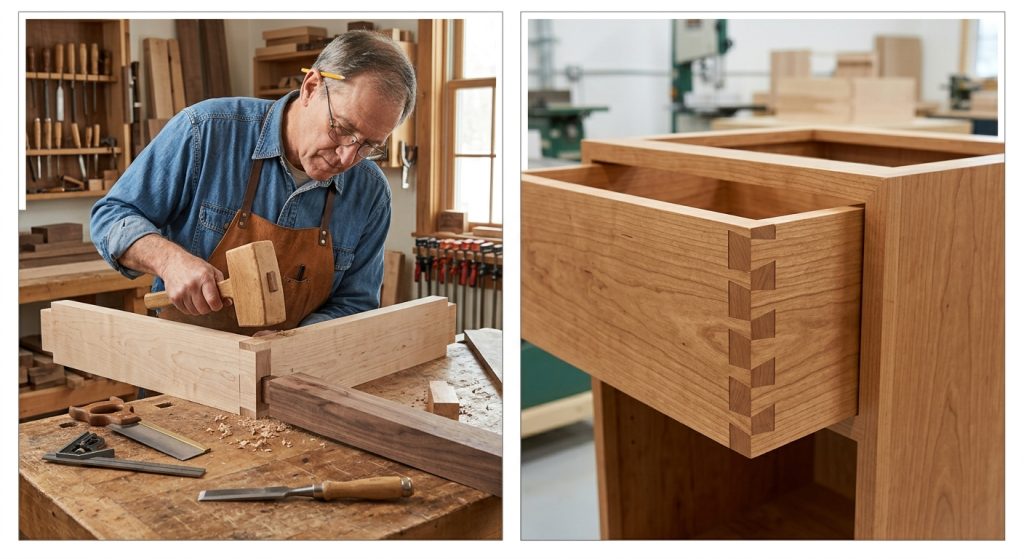
Custom carpentry begins long before the first cut: the way two pieces of wood meet will shape a project’s strength, appearance, and ability to withstand years of use. The best wood joints are not necessarily the most elaborate; they are the ones that suit the load, the material, the available tools, and the finish the design calls for. A discreet cabinet connection has different demands from an exposed table frame or a wide, carefully aligned panel.
Project Requirements for Choosing Wood Joints
In carpentry, begin by defining what the connection must do. A joint may need to carry weight, resist twisting, keep a frame square, accommodate seasonal wood movement, or simply create a clean visual edge. These demands are not interchangeable: a connection suitable for a decorative frame may loosen under the repeated stress placed on a chair or cabinet door.
Consider the direction of the force as well. Shelves carry downward loads, while chair rails and table aprons may experience sideways pressure and racking. A joint that offers a large glue surface can be effective when the pieces are held firmly together, but mechanical interlocking can provide additional resistance when components are pulled or twisted.
Load, visibility, and wood movement
Visible end grain, hidden fasteners, and seasonal expansion all influence the choice. A miter joint can conceal end grain at a picture-frame corner, for example, but the angled glue surfaces alone may not be sufficient for a frame that will be handled frequently. Splines or reinforcing keys can improve its resistance without changing the clean outside profile.
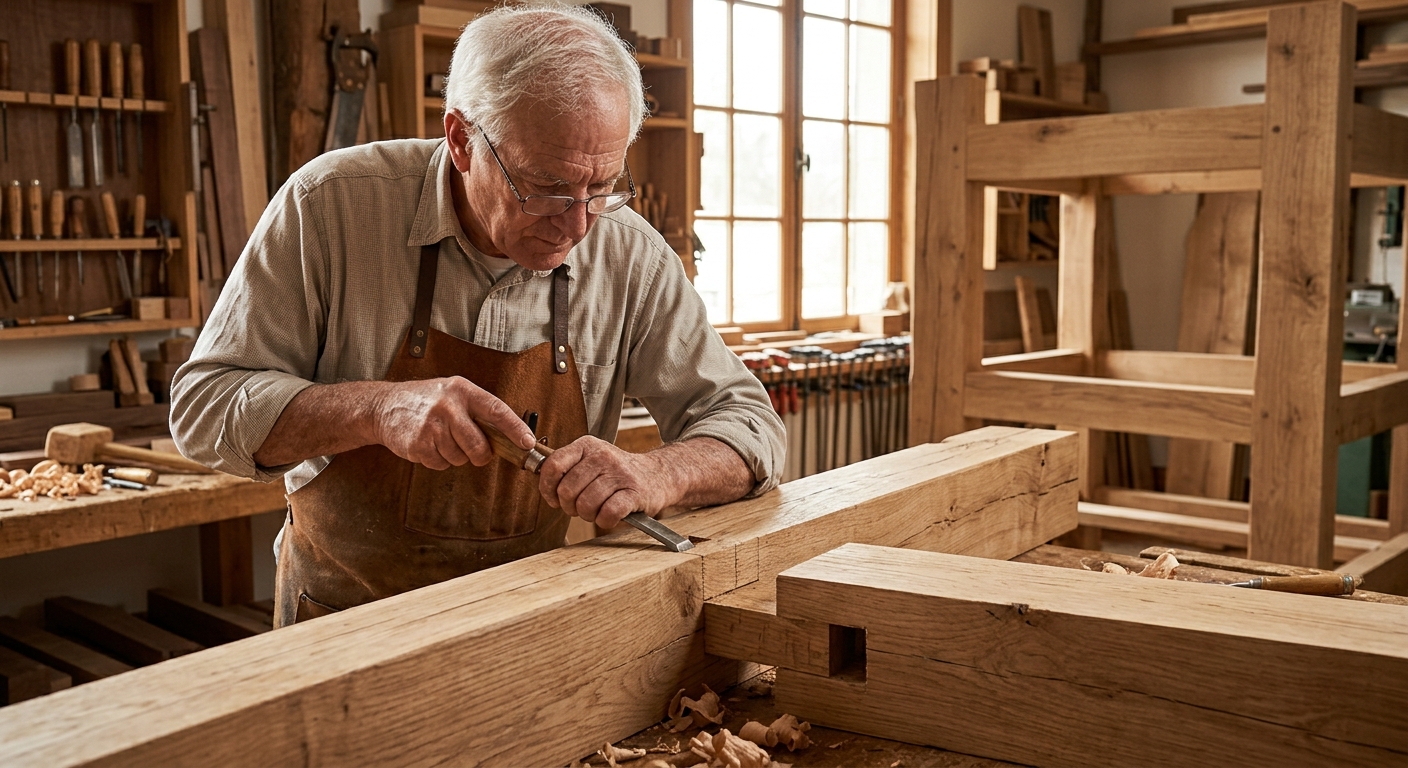
Wood also changes dimension as humidity shifts, especially across the grain. A wide tabletop fixed rigidly to a frame can split or distort if the connection prevents that movement. Joinery should hold parts securely while allowing movement where the design requires it; tongue-and-groove panels and appropriately designed tabletop fasteners are common ways to address this balance.
Before choosing a method, assess the practical constraints that will shape the work. These questions help narrow the options:
- What forces will the joint face? Identify weight, pulling, twisting, and repeated movement.
- Will the connection be visible? Decide whether it should be concealed, decorative, or part of the design.
- What movement can the wood undergo? Account for grain direction, panel width, and changes in humidity.
- Can the tools produce a repeatable fit? Match the joint’s precision demands to the saws, chisels, router, or jigs available.
A small bookshelf illustrates how requirements can vary within one project: its shelves need dependable support, while its back panel chiefly helps keep the case square. A dado can seat a shelf along its length, whereas a rabbet or groove can locate the backing. For a practical overview of building this type of furniture, consult this guide to a simple bookshelf. The useful lesson is to select each connection for its own job rather than impose one joint throughout.
Common Woodworking Joints and Their Best Uses
Once the project’s demands are clear, compare joints by how they connect the pieces and where their weaknesses lie. Simple connections can be excellent when correctly reinforced, while complex joinery is worthwhile only when its added strength, appearance, or durability serves a specific purpose. No single method is best for every form of custom carpentry.
| Joint | Description | Best uses | Limitations | Reinforcement |
|---|---|---|---|---|
| Butt joint | End of one piece placed directly against the face or edge of another | Straightforward assemblies, quick to lay out and cut | Small bonding area, reliance on end-grain adhesion limits strength | Screws, dowels, biscuits, or corner blocks, depending on fastener visibility and load |
| Miter joint | Adjoining ends cut at matching angles, often forming a right-angled corner | Picture frames, trim, boxes where appearance matters (hides end grain) | Angled faces can slide during clamping and may separate under stress | Splines, biscuits, or keys |
| Lap joint | Two pieces overlapped, creating a broad glue surface (half-lap: material removed from both pieces so outer faces meet evenly) | Cross-bracing, furniture frames, simple frame assembly | Removing material can weaken a component if the remaining section is too thin for its load | Adequate remaining thickness for the load |
| Box joint (finger joint) | Matching square-ended fingers interlocking at a corner | Boxes and drawers, decorative repeating pattern, many long-grain glue surfaces | Requires careful spacing: loose fingers weaken the fit, overly tight ones prevent full assembly or damage edges | Precise finger spacing |
For a custom carpentry project that calls for the right joint from the first cut, Easy Home Maintenance (EHM)‘s craftsmen can advise on the best assembly for your furniture, frames, or built-ins.


