
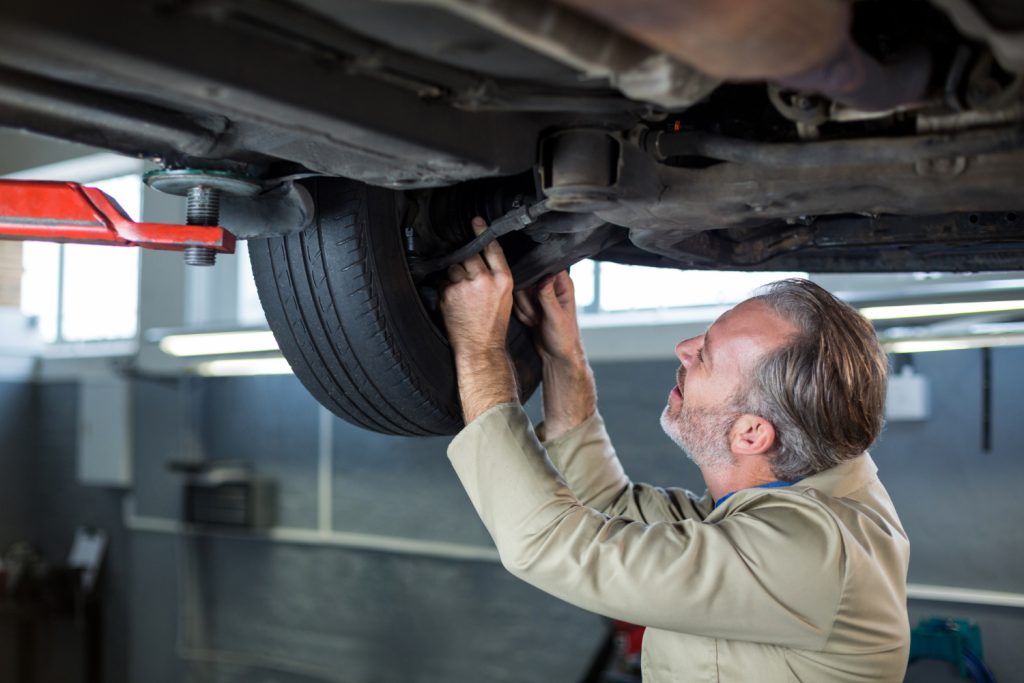
Control arms and ball joints work together to locate each wheel while allowing it to move with the road. On an independent suspension, wear in either part can change wheel alignment, introduce unwanted movement and make the vehicle feel less predictable, yet early symptoms can resemble problems with steering links, wheel bearings or sway bar components.
Recognizing control arm and ball joint wear symptoms
The control arm connects the wheel assembly to the vehicle structure. Its bushings cushion movement at the mounting points, while the ball joint provides a pivot between the arm and steering knuckle. When either interface deteriorates, the wheel may no longer stay firmly positioned under braking, cornering or bumps.
A sharp metallic knock over a pothole or when crossing a bump at an angle can point to looseness in a ball joint. A worn socket allows the stud to shift as suspension load changes, producing impact noise and, in more advanced cases, noticeable movement at the wheel. A dull thud or rattling across a rough road is more consistent with a deteriorated bushing, although sway bar links and other components can make similar sounds.
Pay attention to how the vehicle behaves as well as what it sounds like. Worn bushings can let the control arm shift under braking, creating a pull or a wandering sensation; a loose joint may contribute to vague steering or vibration. Feathered or cupped tire wear can appear after suspension geometry has been disturbed, but tire condition alone cannot identify which component has failed.
Inspecting independent suspension components safely
Begin with the vehicle parked on level ground. Check whether one corner sits lower, look for uneven tire wear, and use a flashlight to examine the ball joint boots and control arm bushings. Torn boots, escaping grease, rust-coloured dust, cracked rubber, separated bushing material or a visibly bent arm call for closer attention.
Next, take a cautious road test on a familiar route. Listen over small bumps, note whether the steering wanders, and check whether the vehicle pulls during gentle braking. Do not continue driving if the wheel feels unstable or the steering has become markedly loose; a severely worn joint can threaten vehicle safety.
For an under-vehicle check, use wheel chocks and a jack rated for the vehicle, then support it securely on jack stands at the specified lift points. Never work beneath a vehicle held only by a hydraulic jack. Remove the wheel if needed for visibility, and keep hands clear of pinch points while moving the suspension.
A useful inspection records both the location and type of movement. A helper can rock the wheel or turn the steering while an observer watches the joint and bushings, but the correct load condition varies by suspension design. Follow the manufacturer’s procedure: some joints are checked with the suspension hanging, while others require the suspension to remain loaded.
Testing ball joints and control arm bushings
With the vehicle supported as specified, hold the tire at the 12 and 6 o’clock positions and gently rock it. Movement may come from a ball joint, but a wheel bearing can produce similar play, so watch the joint itself rather than relying on the tire alone. Movement directly at the ball joint stud, or a torn boot combined with looseness, is a strong reason for professional assessment.
To assess a bushing, look for cracks, separation from its sleeve, oil damage or an inner sleeve that has shifted off-centre. A pry bar can reveal excessive movement, but use gentle pressure and never place yourself beneath an unsupported suspension. Some rubber flex is normal; the concern is abnormal displacement, contact between metal parts, or a clear difference from the opposite side.
Compare the results before deciding which part is responsible. If the ball joint moves while the bushing remains secure, the joint is the leading suspect. If the arm shifts excessively at its mounting point but the joint is tight, the bushing is more likely worn. When both show play—or the arm is cracked, bent or deeply corroded—the complete control arm assembly may be the appropriate repair.
Here is a concise way to distinguish common findings during a first inspection; it is a guide to where to look, not a substitute for the vehicle-specific test procedure.
| Finding | Likely area to inspect | Important check |
|---|---|---|
| Sharp clunk over bumps | Ball joint, sway bar link, or mounting hardware | Watch for movement at the joint while loading the suspension correctly. |
| Dull thud and vague handling | Control arm bushing | Look for tearing, separation, or excessive arm movement. |
| Pulling under braking | Bushings, alignment, and steering components | Check whether the arm shifts as load changes. |
| Uneven tire wear | Suspension geometry and tires | Inspect for looseness, then arrange alignment measurements as needed. |
Choosing the right control arm or ball joint repair
Replacement options depend on the vehicle’s design. Some ball joints bolt onto a sound control arm; others are pressed into the arm or are supplied only as part of a complete assembly. Separate bushing replacement may be possible, but pressing components in and out requires the right tools and careful support. A complete arm can be a more practical choice when several wear points are damaged or the joint is not serviceable separately.
Consider the condition of both sides, especially when original components have accumulated substantial wear. Replacing parts in pairs is commonly recommended for shocks and struts; for control arms and ball joints, inspect the opposite side and follow vehicle-specific guidance rather than replacing it automatically. Choose compatible parts by VIN, trim and suspension configuration, and consider build quality, corrosion protection, boot material and warranty rather than selecting solely by price.
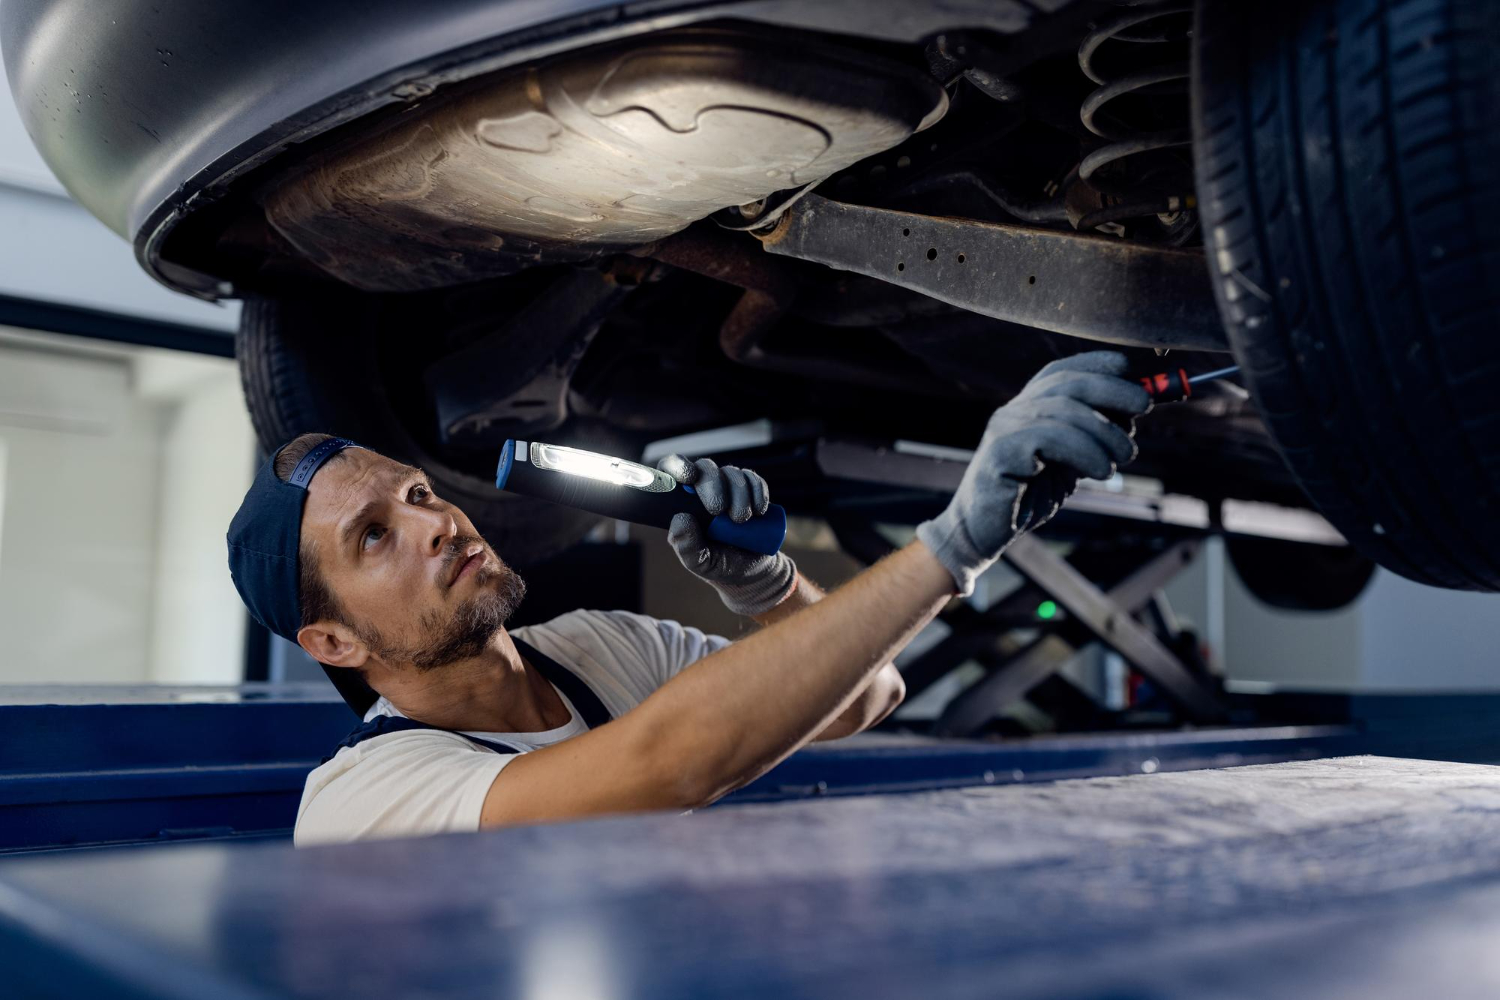
After replacing a control arm or ball joint, a wheel alignment is generally needed because the repair can alter suspension geometry. Marking the original fastener position can help during reassembly, but it does not replace alignment measurements. Use the exact torque specifications and replace one-time-use fasteners where the service information requires it.
Protecting vehicle safety during inspection and repair
Suspension work involves heavy components, high loads and fasteners that may be seized by corrosion. Stop if a joint will not separate using the approved method, a bolt is badly rusted, or the repair requires spring compression without proper equipment. A loaded coil spring stores substantial energy, so transferring one to a bare strut is not a casual home-garage task.
When installing control arms with rubber bushings, final tightening often needs to take place with the suspension at normal ride height. Tightening while the wheels hang can twist the rubber at rest, shortening bushing life and affecting ride height. The exact procedure depends on the design, so confirm it in the service manual before tightening.
Before returning the vehicle to the road, verify fastener torque, brake-hose and ABS-wire routing, and clearance around the wheel. After a slow test drive, stop if new noises, pulling or unstable steering appear, then have the work checked. A professional mechanic is the right choice when structural damage, seized hardware or uncertainty about safe support is involved; correct diagnosis and alignment help preserve both handling and tire life.
Reliable diagnosis comes from locating movement at the component itself, not guessing from a noise. Treat visible damage or confirmed looseness as a safety concern, and have a qualified suspension professional verify the repair and alignment when needed.


